Hi friends,
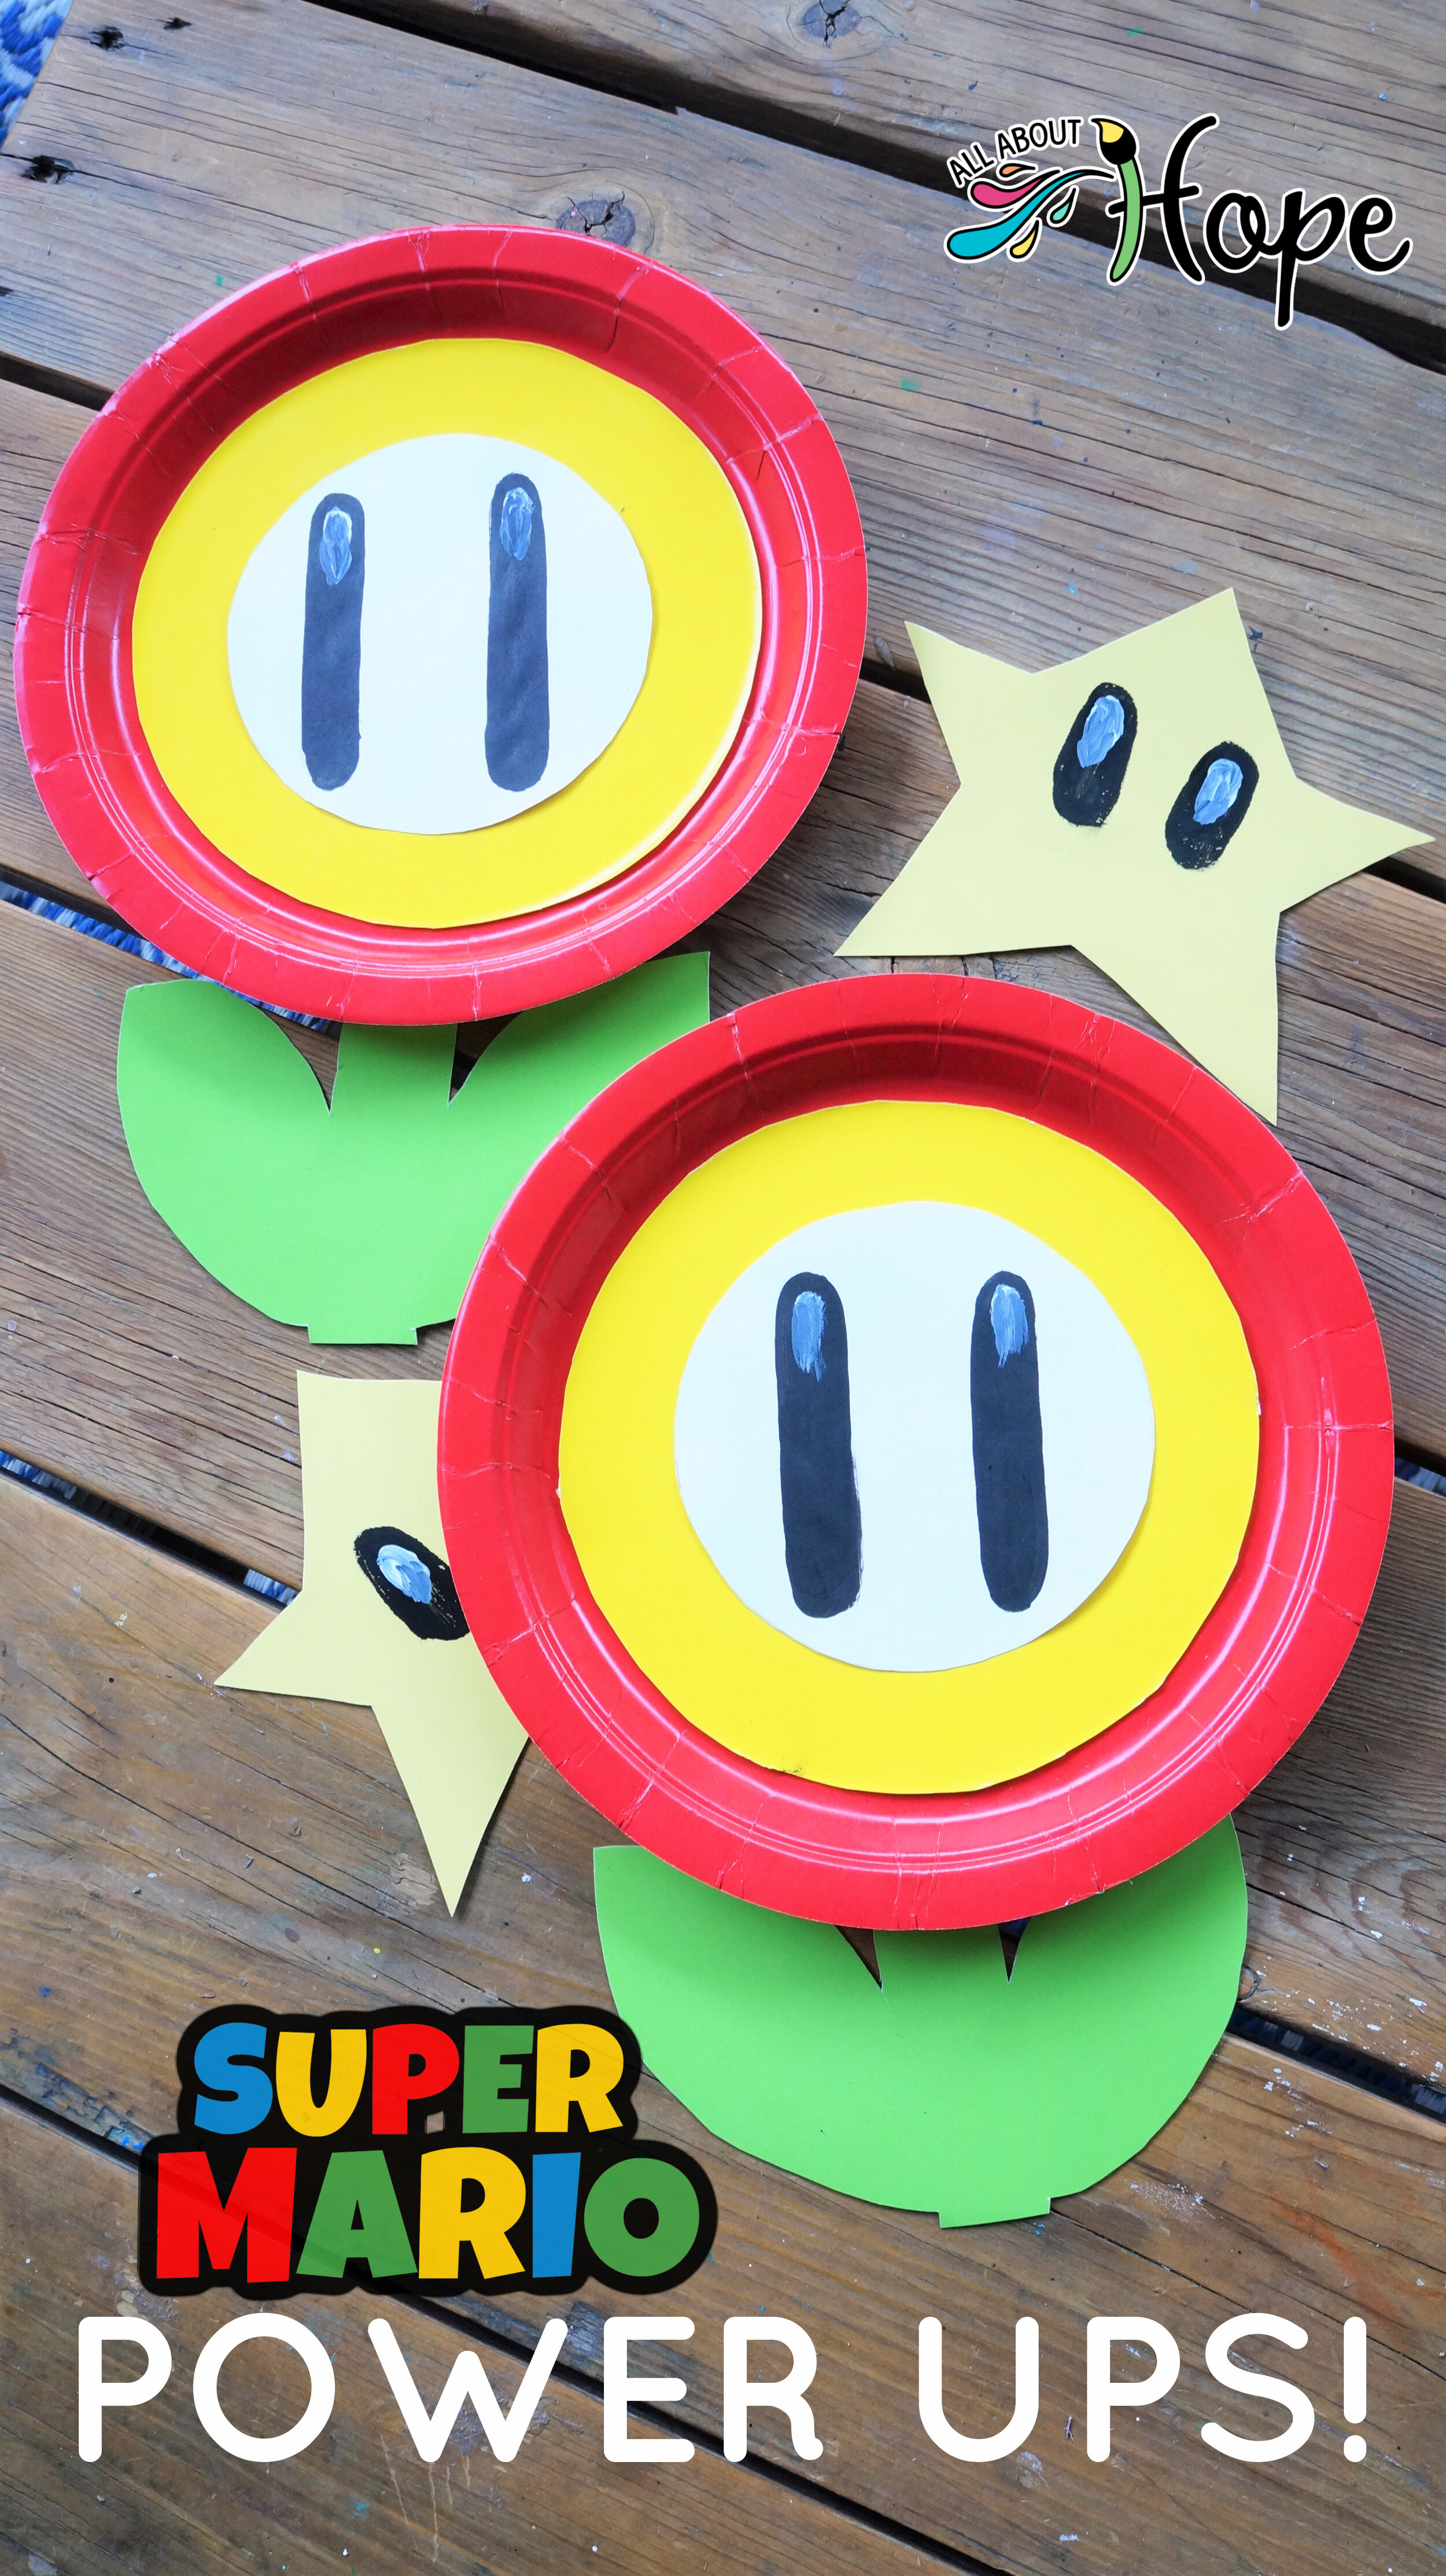
Today we're sharing our Super Mario power ups that happened by chance! These party plates came to the rescue for this easy-to-make craft. All the details below.
*Click on photos for a closer look
What You'll Need
Fire Flower
(1) Red, Yellow, & Green Plates
(1) Extra Plate any color
Cereal Bowl
Large Mug
Pencil
Scissors
Glue
Black & White Paint
Paint Brushes
Super Star
(1) Yellow Paper Plate
Pencil
Scissors
Black & White Paint
Paint Brushes
The Steps
My littlest, Matthias, recently celebrated his 4th birthday! We’d been busy with different activities, events, and a family trip, days before his birthday. And he still didn’t know what theme he wanted, the question always ended with his toy requests lol
Then it hit me, he and Micah had been playing a Super Mario Bros. game they both loved. Why hadn’t I thought of it before!?!?!?! That became our instant focus. We hurriedly found inexpensive decor in-store and came up with easy DIY power up options to add. Everything we purchased and made worked out great for their Mario Bros. mini-room makeover too : )
Fire Flower
Trace the cereal bowl onto the yellow plate.
Trace the large mug onto the back of the extra plate.
Cut each out and set aside.
Repeat as many times as you’d like.
4. Turn the green plate over, draw a 3- 4 inch long stem with 2 leaves, and cut out.
5. Glue the white circle onto the yellow one, the yellow one onto the red plate, and the flower to the stem. Set aside.
To finish go to the painting steps further below.
Super Star
Turn the yellow plate over and create a wide star:
a) Make a wide peak at the top.
b) Extend the lines on each side 1 -2 inches out.
c) Angle the lines down toward the center about 2 inches.
d) Draw angled lines, on each side, extending back out to the edge of the plate.
e) Draw long lines, slightly angled in/up towards the center, and connecting with each other.
Cut out.
Painting
With black paint draw long oval eyes on the white of the flower and shorter ovals on the yellow star.
Once dry, add white gleams on the black of each eye.
That’s it!
These were super easy to make and very inexpensively too.
They can be tacked or taped up for your party needs or in our case, room decor as well.
We’ll have a few more items for you next week!
Happy crafting!
Amanda and Naomi
To share: take a photo of your craft and let us see it! Click on photo submission and submit the photo.


