Hi friends,
St. Patty’s isn’t too far off so we’re bringing you a super easy, count your Lucky Charms activity, our spin on the “Count your lucky stars” phrase. Check it out below.
Click on photos for a closer look

What You'll Need
White, Lt. Blue, Dk. Green, Lt. Green Construction Paper
Scissors
Glue
Markers
Pencil
Lucky Charms Cereal
Optional: Colored Pencils
The Steps
I thought about all the great things we’ve experienced and been a part of. I loved the idea of counting the ways we are fortunate, lucky, or blessed. Although we didn’t list the ways, your child could easily add that next to each charm, documenting what they feel lucky about.
If you think you’d eat your supplies more than use them, don’t worry, we did that very thing. It was all a part of the creative process. LOL.


BACKGROUND
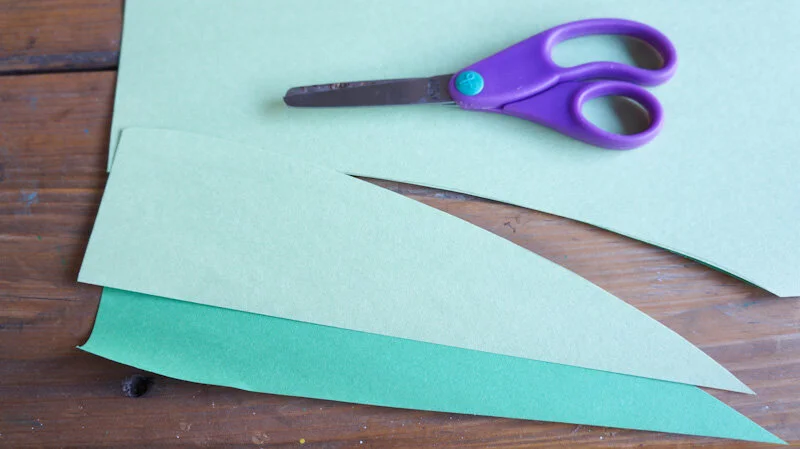
Layer or lay your greens right on each other and draw a wide slope.
Cut the slopes out.
Separate the slopes, choose which side to glue the dark green down on the blue paper, and then glue the light green next.


4. Cut out a small white circle for the moon and glue it on the right or left side of the blue paper.
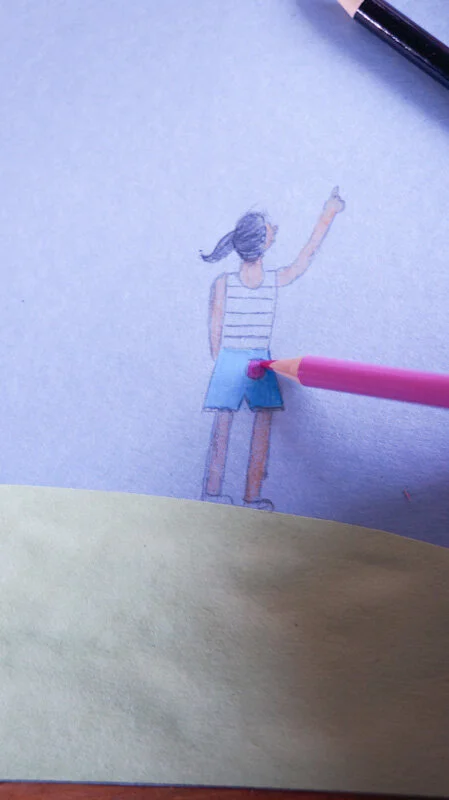
DRAW
1. Draw a boy or girl facing the sky, hands down, or pointing 1 to the sky.
2.Color in the boy/girl with markers or colored pencils.


MESSAGE & CHARMS
1. Write in print or cursive, “Count Your Lucky Charms!”, then fill in with the markers.
2. Glue your charms and if you’d like, add the ways you’re lucky.
That’s it!
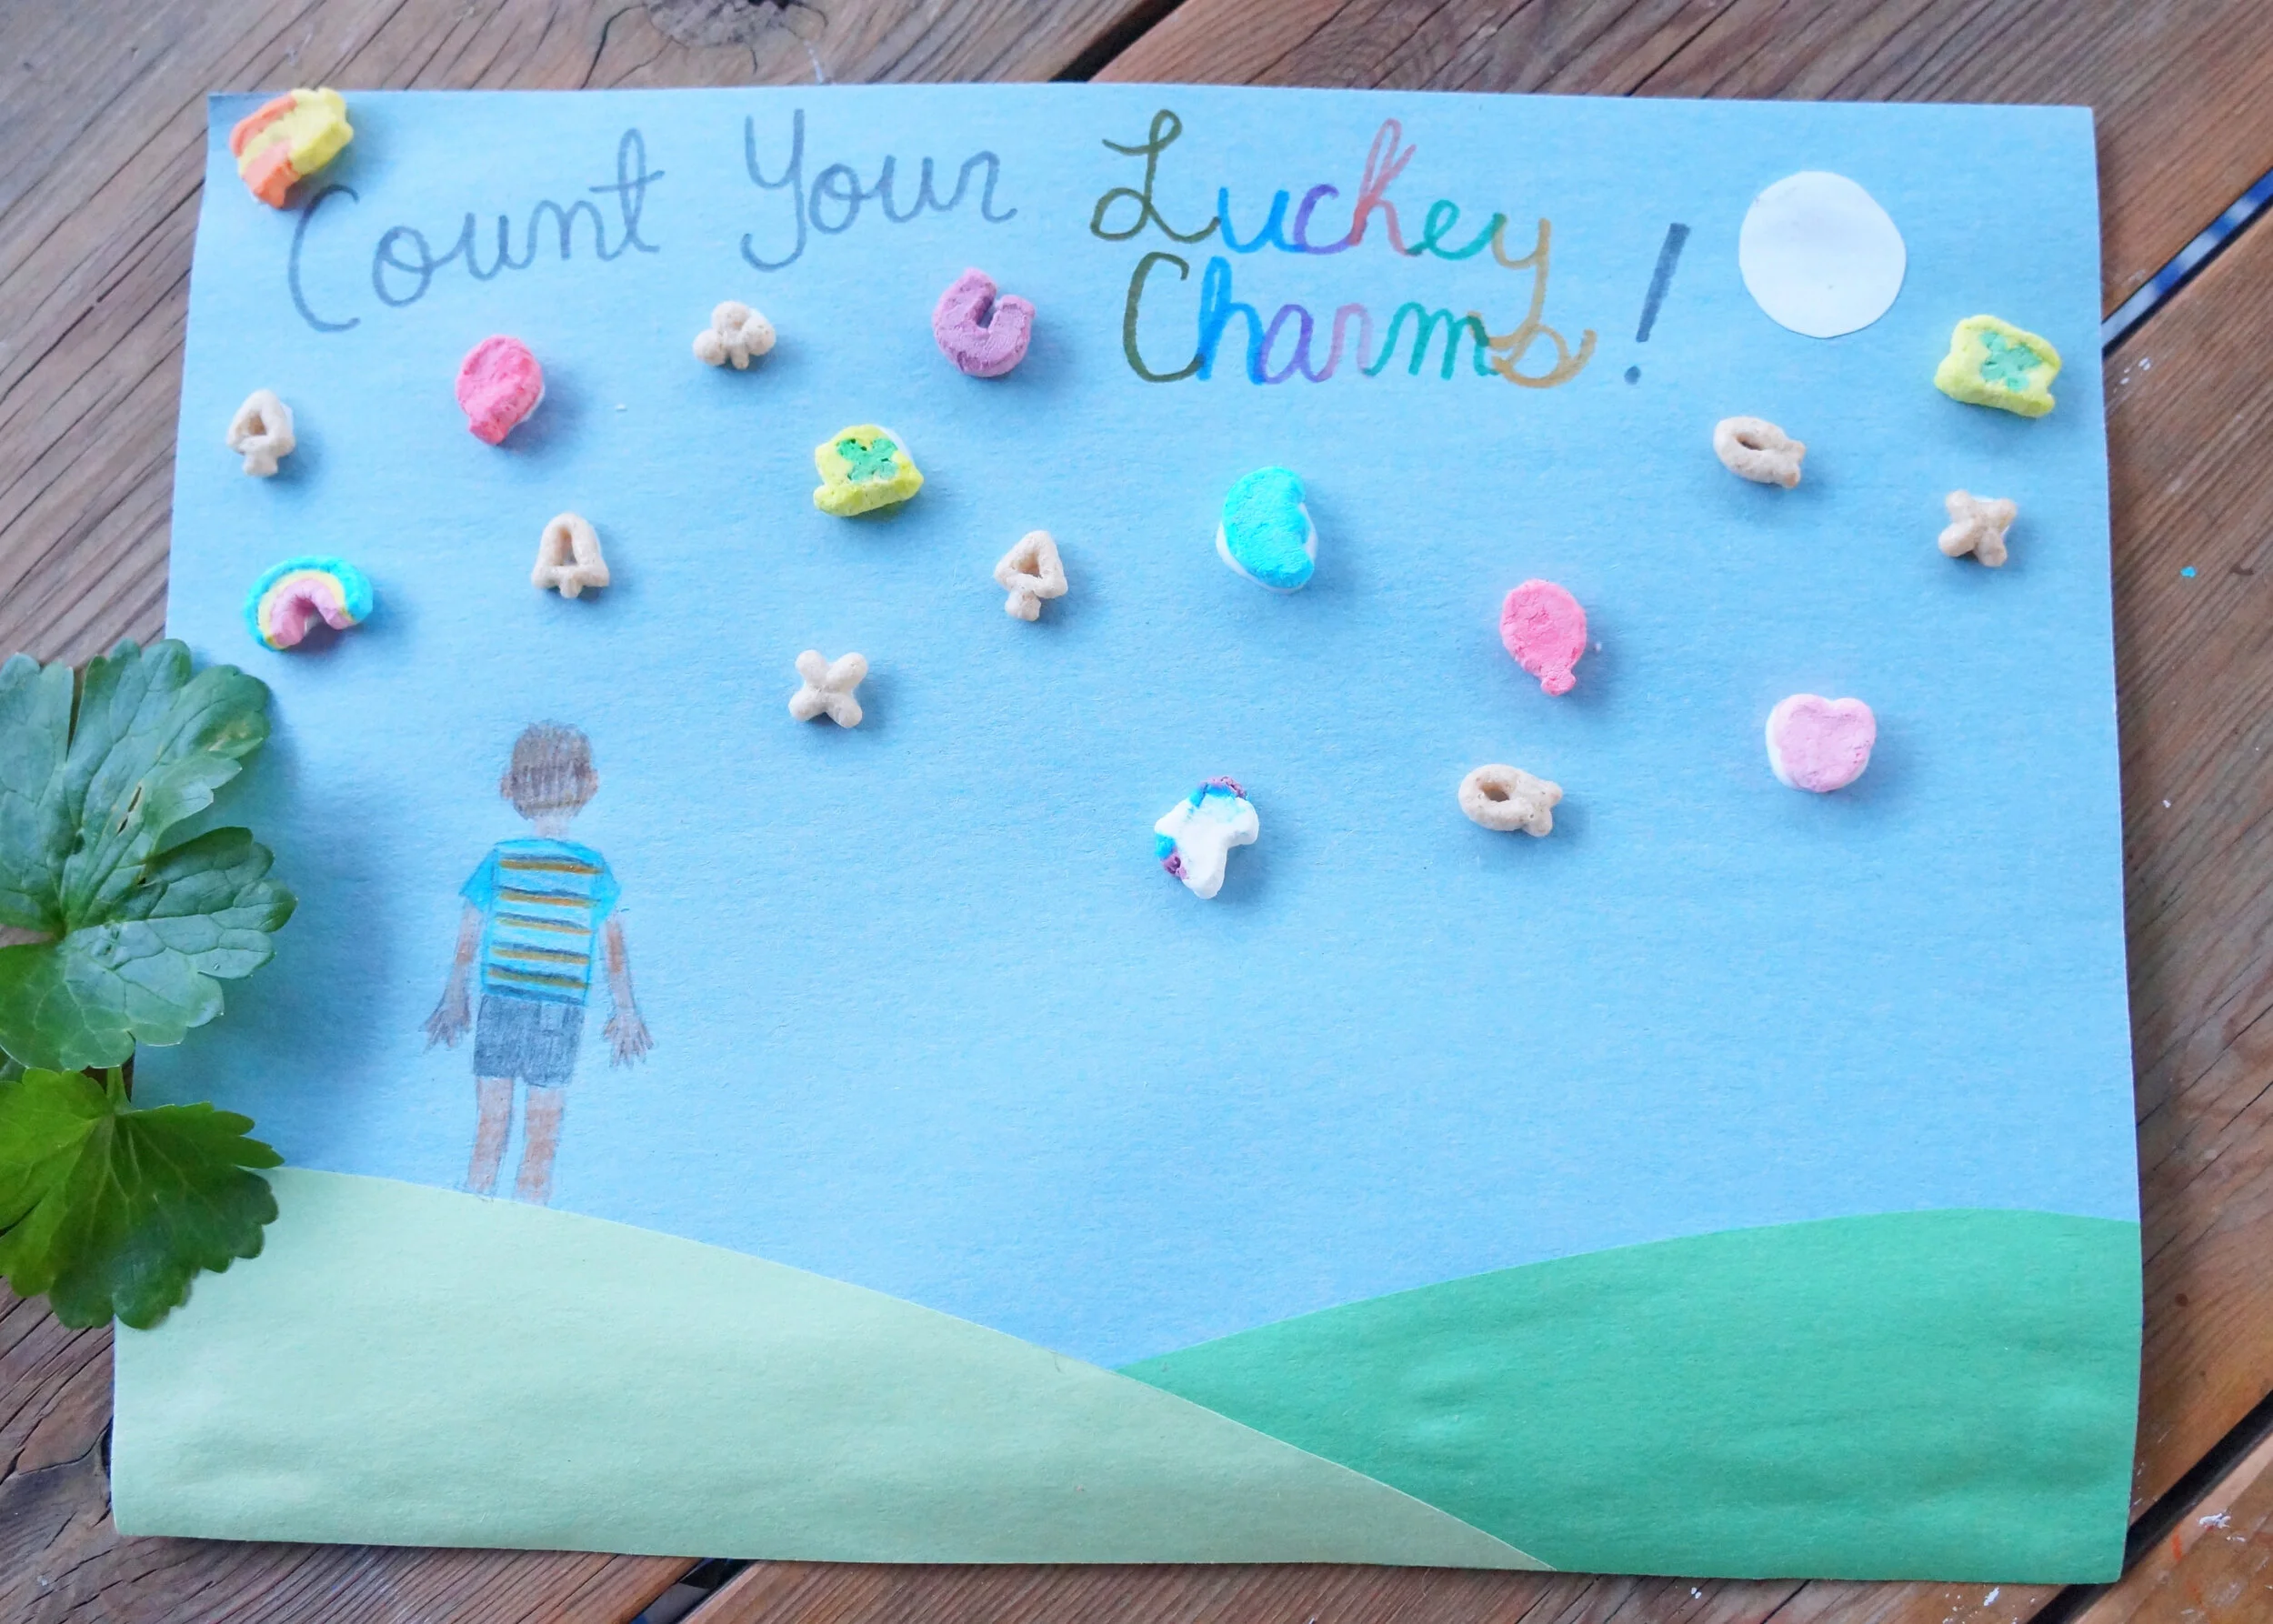
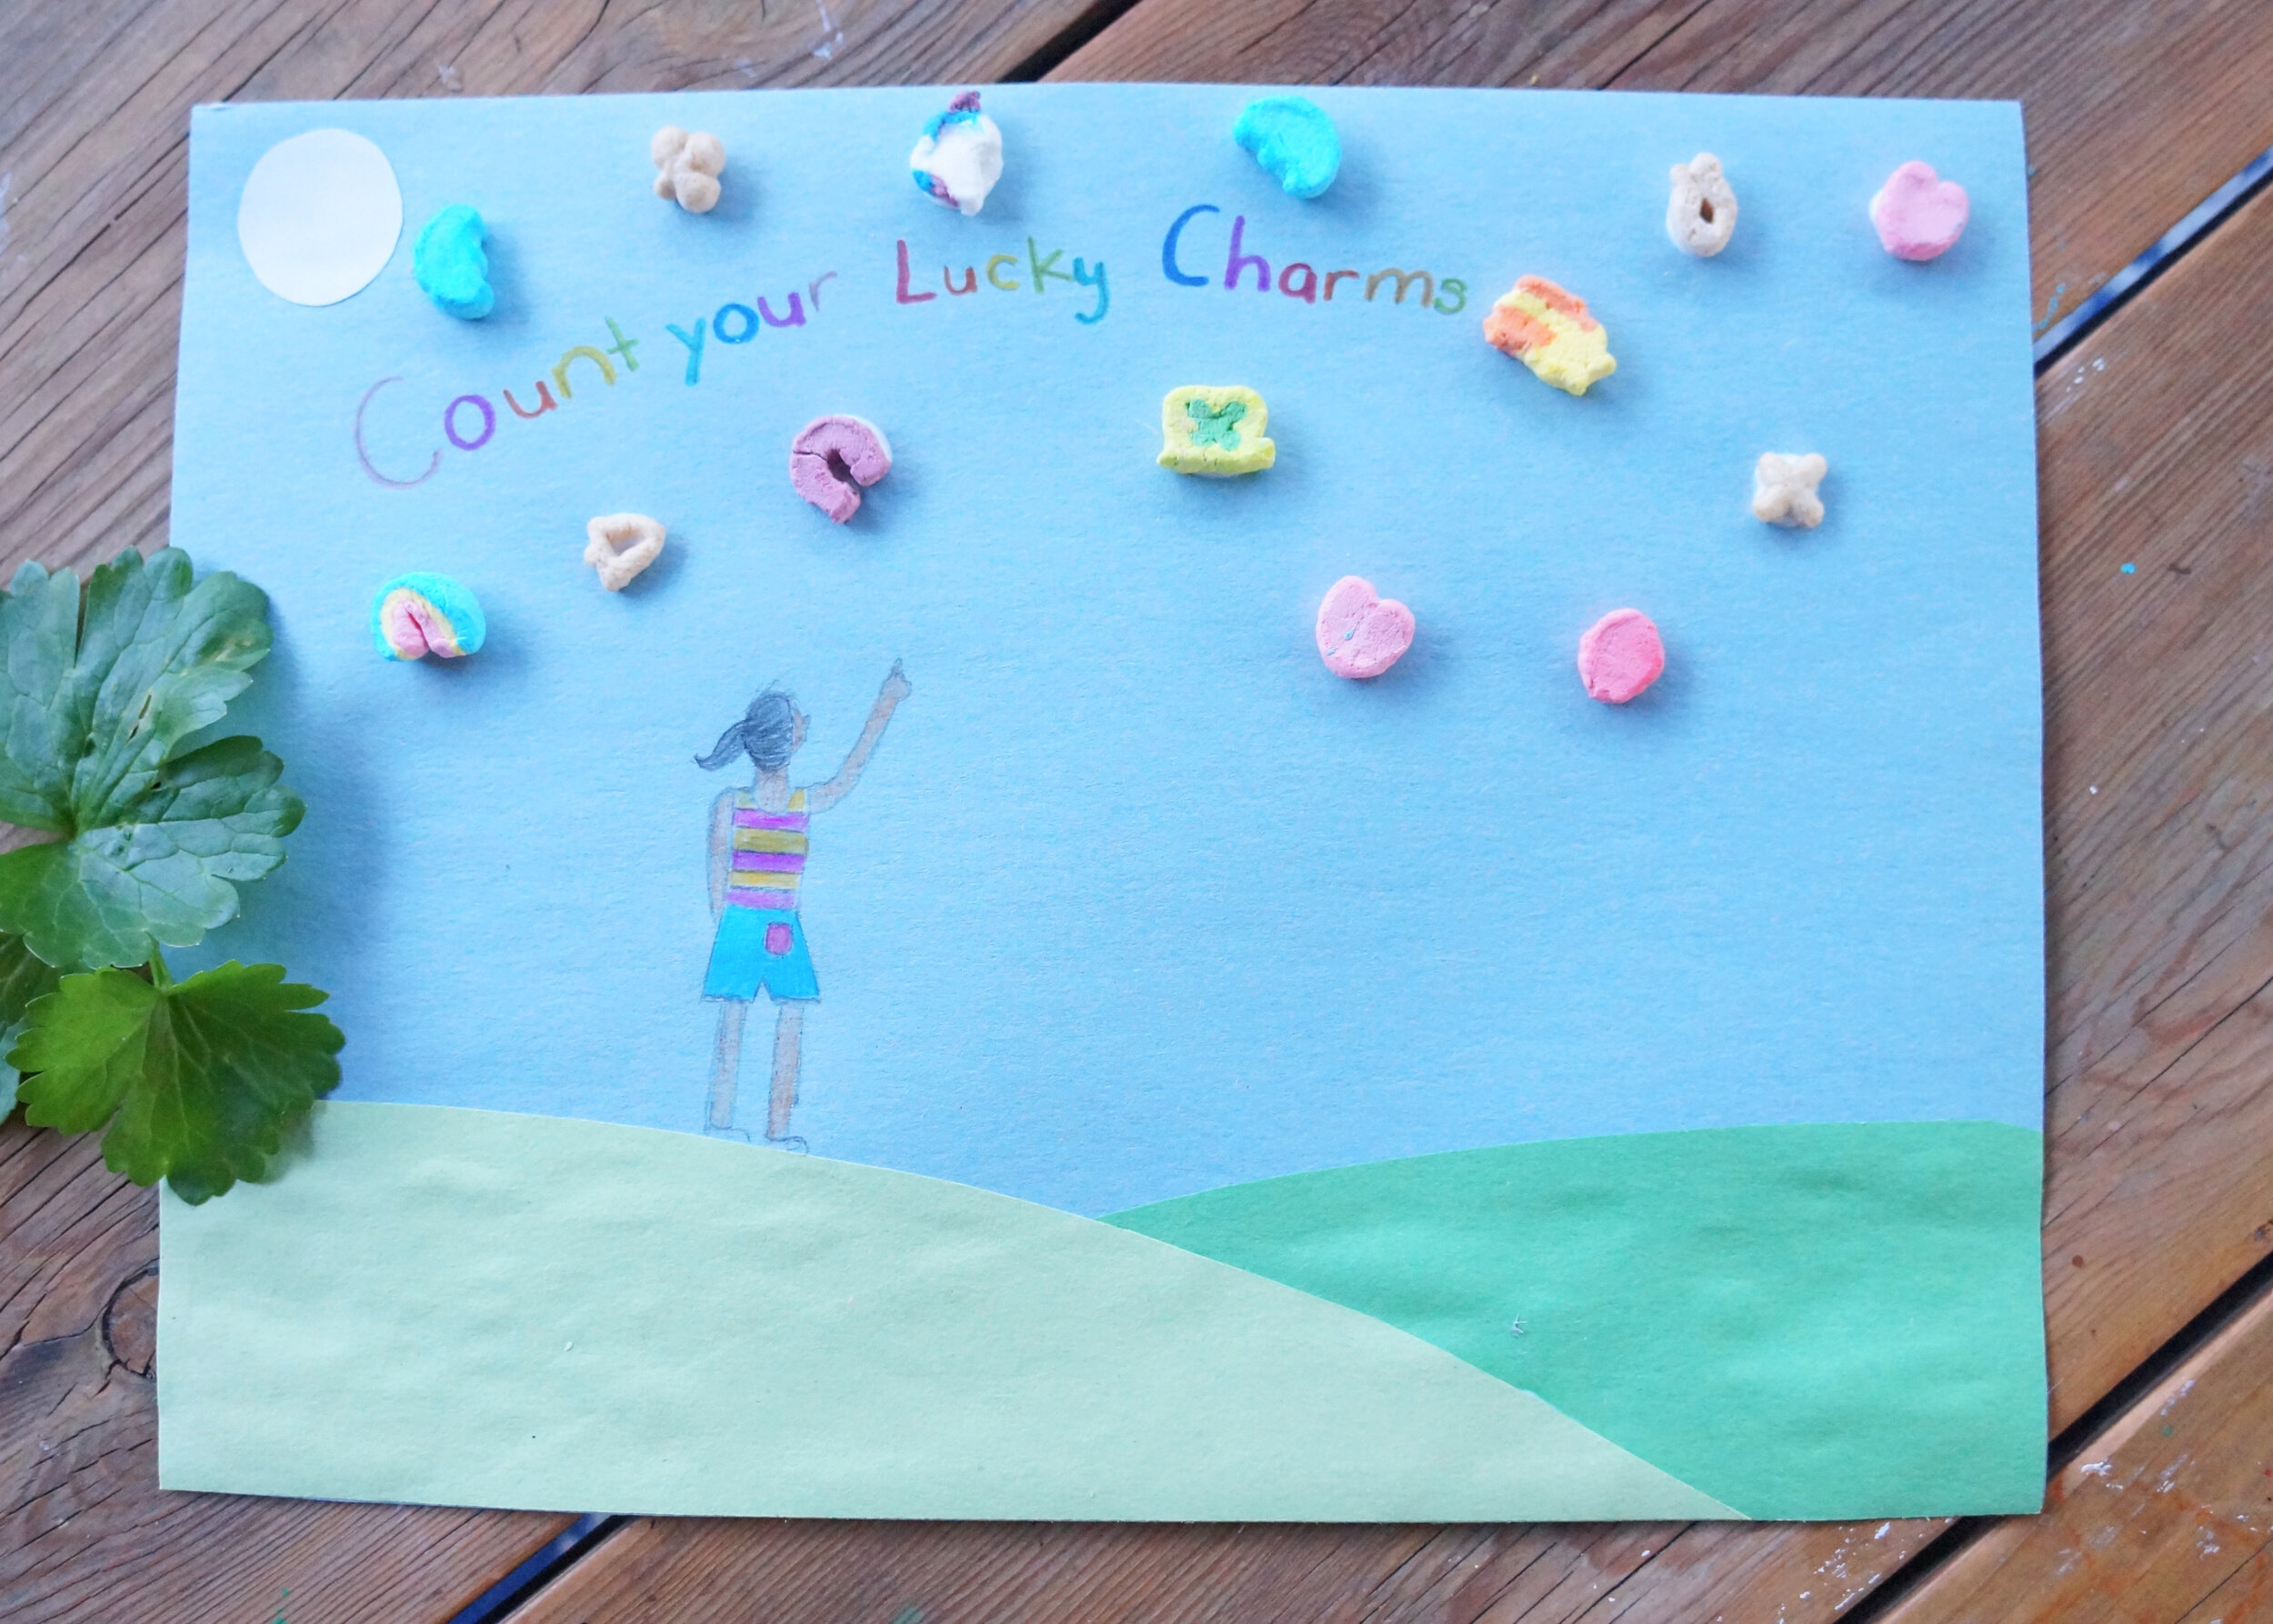
I placed my moon on the right and Naomi placed hers on the left. We also ate more cereal than we used.
= )

Happy crafting!
Amanda and Naomi
To share: take a photo of your craft and let us see it! Click on photo submission and submit the photo.