

Hi friends,
Spring isn’t quite here yet, but the birds don’t seem to mind, their chirping inspired today’s Squishy Paint Bird Mobile. You’ll repurpose newspaper to create beautiful designs, unique in color and design with the squishing & swirling you do. We’ll show you each color combo we used, its outcome, and a bird in that design. Check it out below.
*Click on photos for a closer look
What You'll Need
Sturdy Newspaper(extra for workspace)
Craft Paints
Scrap Paper
Round Container
Pencil
Scissors
Twig
String/Yarn
Hole Punch
Glue
Optional: Wipes, Disposable Gloves, Hairdryer
The Steps


PREP & PAINT
Fold the paper in half vertically and then open back up.
Add paint squirts to one side and fold again- press the paint all throughout the paper, transferring to the opposite side by swirling around and/or combing with your fingers.
Open to see which spots need more paint/swirling, add more if necessary or leave newsprint visible.
Repeat with other color combos or move on to step 5.


I loved how the newsprint showed through in a subtle way.


5. Let the paper air dry or use a hairdryer for speed.


6. Fold each paper in half, with the paint side facing out, add glue to the center, and press together. Let the papers dry for 5-10 minutes.
This will create a double-sided bird and make it sturdier.


BIRDS
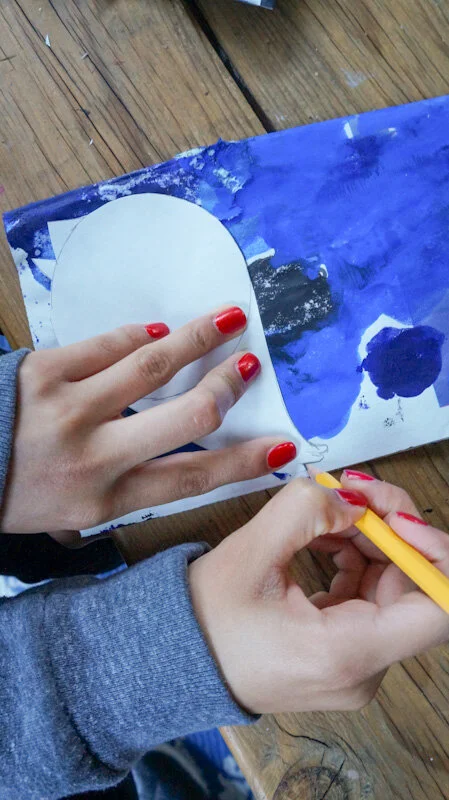
If working with a partner- fold the paper in half 1st. Use your scrap paper to trace a small round container.
Next, draw an open beak and tail feathers.
Cut out the bird/s.

4. Trace the bird onto your painted paper. If choosing a closed beak, trace the top part only and leave the bottom beak out. Repeat with other colors and as much as you’d like.
5. Cut all the birds out.


SKIP this step if you don’t want to wrap your stick and move onto the assembly.


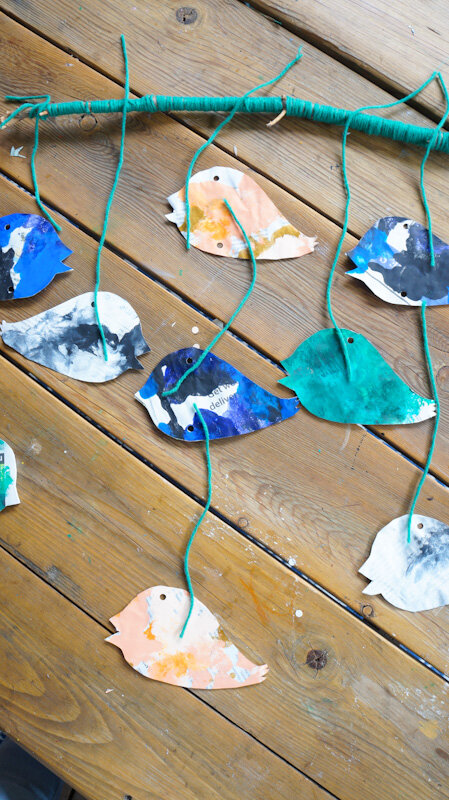

ASSEMBLE
Punch holes in your birds, arrange them how you’d like, and determine IF you will have 1-3 birds per row.
If using more than one bird per string, punch a hole at the bottom of the top bird or bird that will go above it too.
Cut your strings for the birds, one for the top to hang, and attach them all.
That’s it!


L: My yarn strings weren’t long enough so I attached a few pieces to elongate. I also had a few birds with closed beaks. R: Naomi kept hers very simple, 1 bird per string, and all open beaks.
Crafting is always therapeutic for me but there’s something about squishing the paint around that was really fun. Just as rewarding, the super cool color designs created after. Now we’re excited about more squishy paint projects!
Happy crafting!
Amanda and Naomi
To share: take a photo of your craft and let us see it! Click on photo submission and submit the photo.


