Hi friends,
This week my little guy joined me for some handprint crafting! He was so eager to put some paint on his hand and press it down everywhere, lol. I had to tame his little hand to get the look we were going for haha, but let him punch holes to his heart’s content on the extra paper we had.
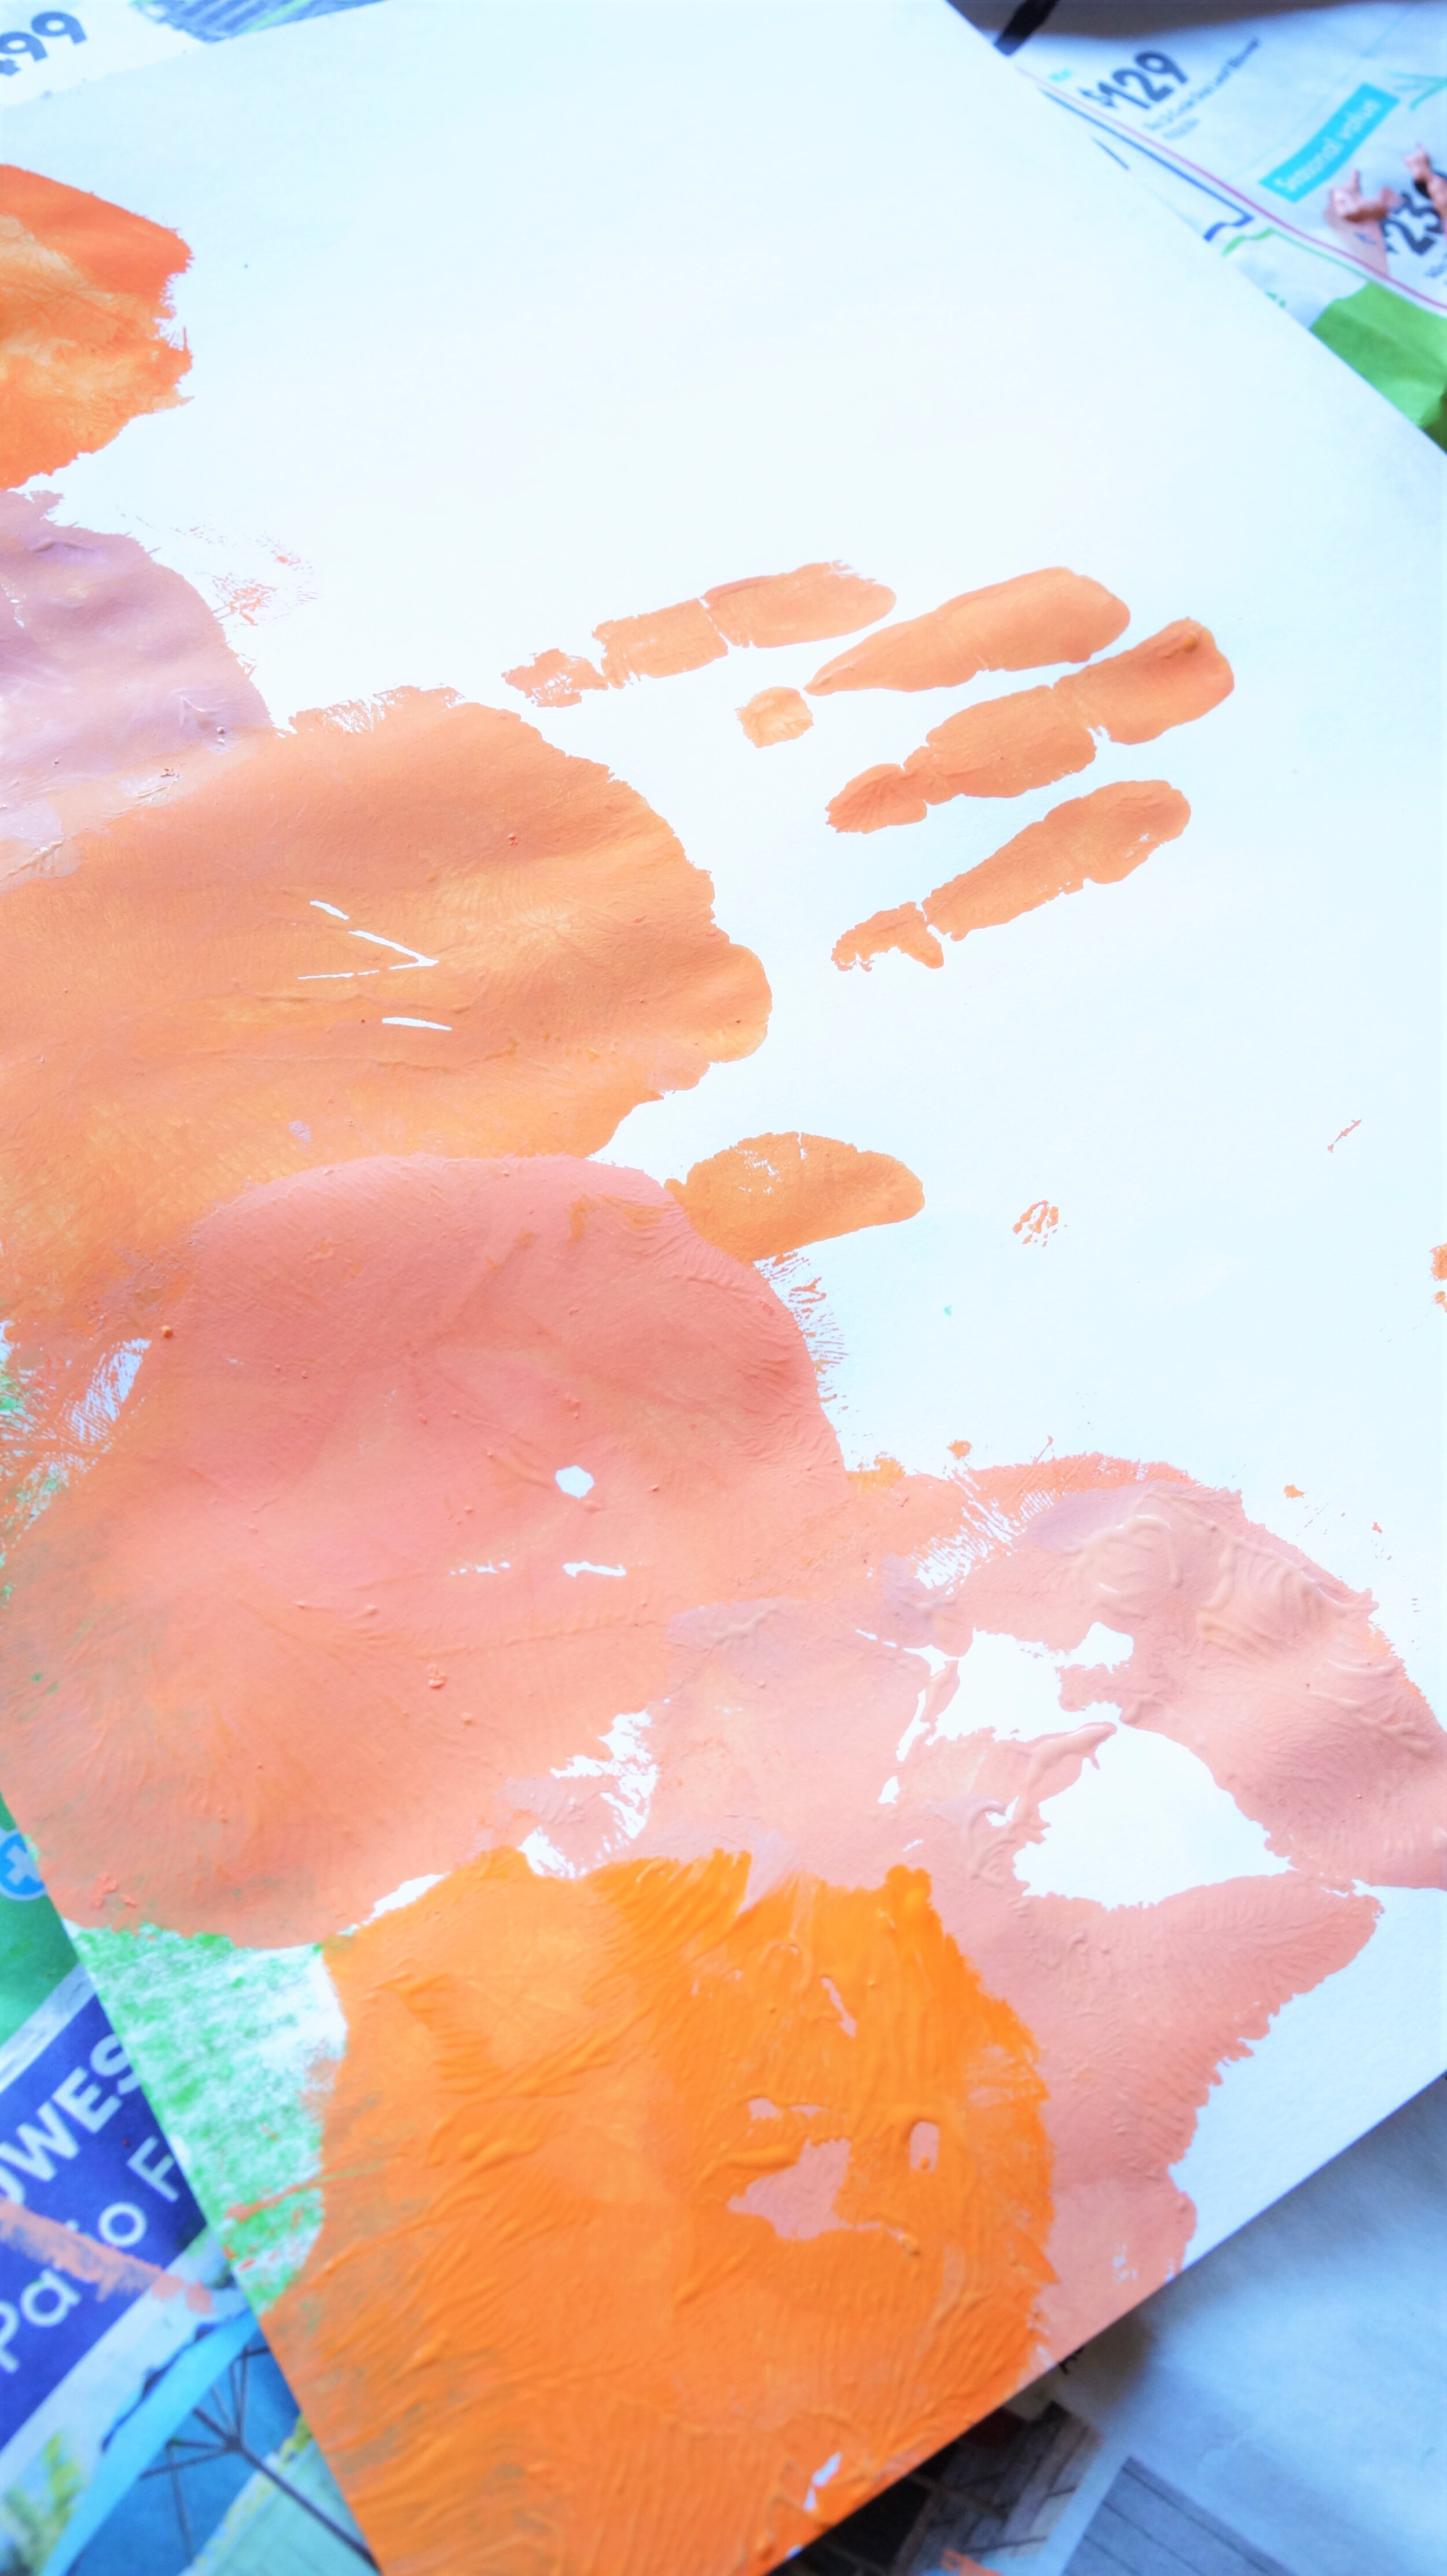
You can use palms, handprints, or both like us. I even squeezed enough of my palms and 1 full handprint to represent my family. This activity was super easy, fast, and inexpensive too. Check out our cute harvest hand and palm prints below!
*Click on photos for a closer look
What You'll Need
White Medium Weight Paper
Green & Brown Color Pencils
Orange Craft Paints
Paint Brushes
Hole Punch
Scissors
Green String
Optional: Hand Wipes/Wash Rag, Newspaper
The Steps
Turn your paper horizontally and color the grass at the bottom.
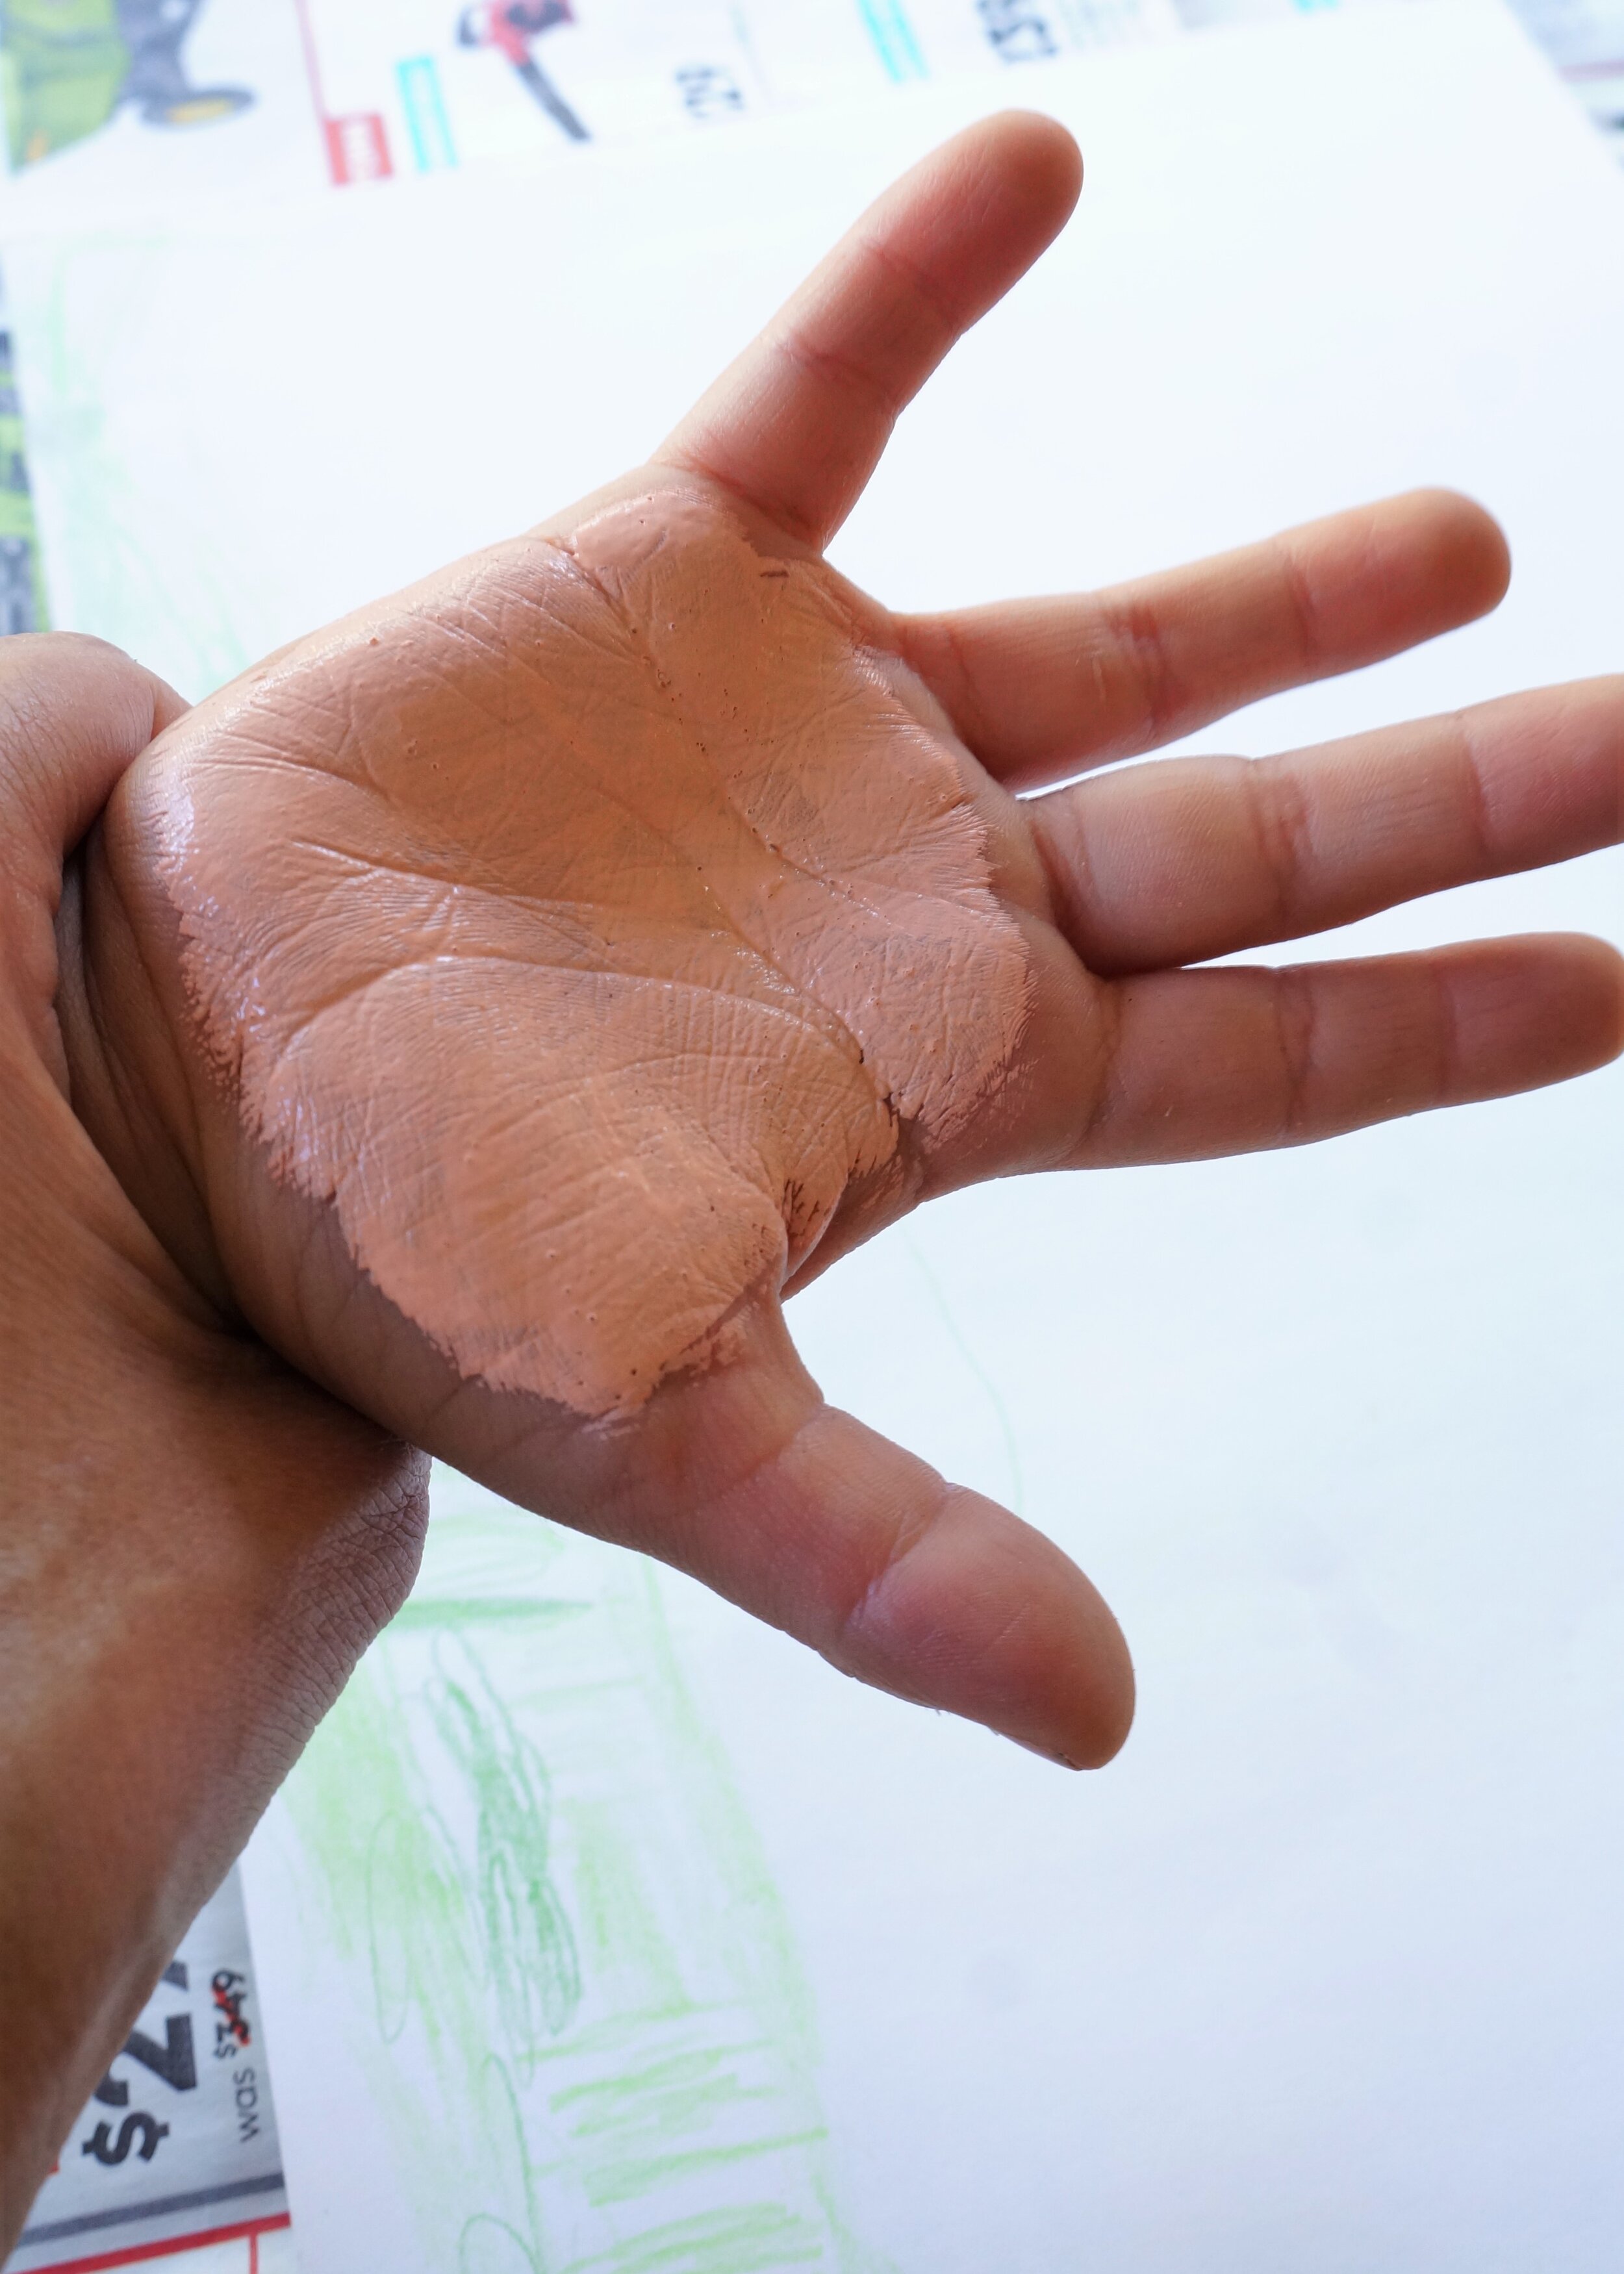
2. To make smaller pumpkins, paint a small circle on the palm or the full palm, and press down on the paper.
3. To make larger pumpkins, paint the full hand and press down with fingers spread open.
4. Wipe the hand and repeat with different colors if you’d like.
I started with my palm and used different colors to make the smaller pumpkins, one for each member of my family. I then used my full hand to represent our oldest and tallest child.
5. Once the paint dries, use the brown color pencil to make a stem for each pumpkin.
I added our names to each pumpkin for fun. Matty wanted his name on his paper, then he did his best to write it himself : )
6. To add vines to the pumpkins, slightly fold the area under the stem and punch a hole, repeat with all the pumpkins.
7. Then cut some green string, feed through the holes, and tie 1 -2 times.
Optional: Write HARVEST HANDPRINTS on the page.
That’s it!
Happy crafting!
Amanda and Naomi
To share: take a photo of your craft and let us see it! Click on photo submission and submit


