

Hi friends,
I know it’s a little early but I’ve got to say it, fall is almost here!!! With all the crazy in the world, I’m looking forward to the fall season more than ever. The colors are probably the most soothing to me, followed by all the scents, and warm & fuzzy things that accompany it. When I was younger, I use to drive down a street in my little hometown, slowly and JUST for the view. It was filled with huge beautiful trees, but in the fall, it was a multicolored scene. At the time it didn’t have many stop signs, so I could coast as I soaked it all up! It was the best!
Those memories got me thinking, our kids are growing and changing much like trees, I thought we could document that in a fun way. This weekend the littles and I got right to work with lots of fall colors for our own trees and leaves. They giggled and squirmed a bit as I traced their bodies, enjoyed the squishy paint between their fingers, and ooohed & aahed with each of their unique prints. We talked about how the leaves change during the seasons; the colors being the most beautiful & noticeable change, and eventually falling before growing back. Check it out below!
*Click on photos for closer look
What You'll Need
Craft Paper Roll
Paper Plates
Scissors
Pencil
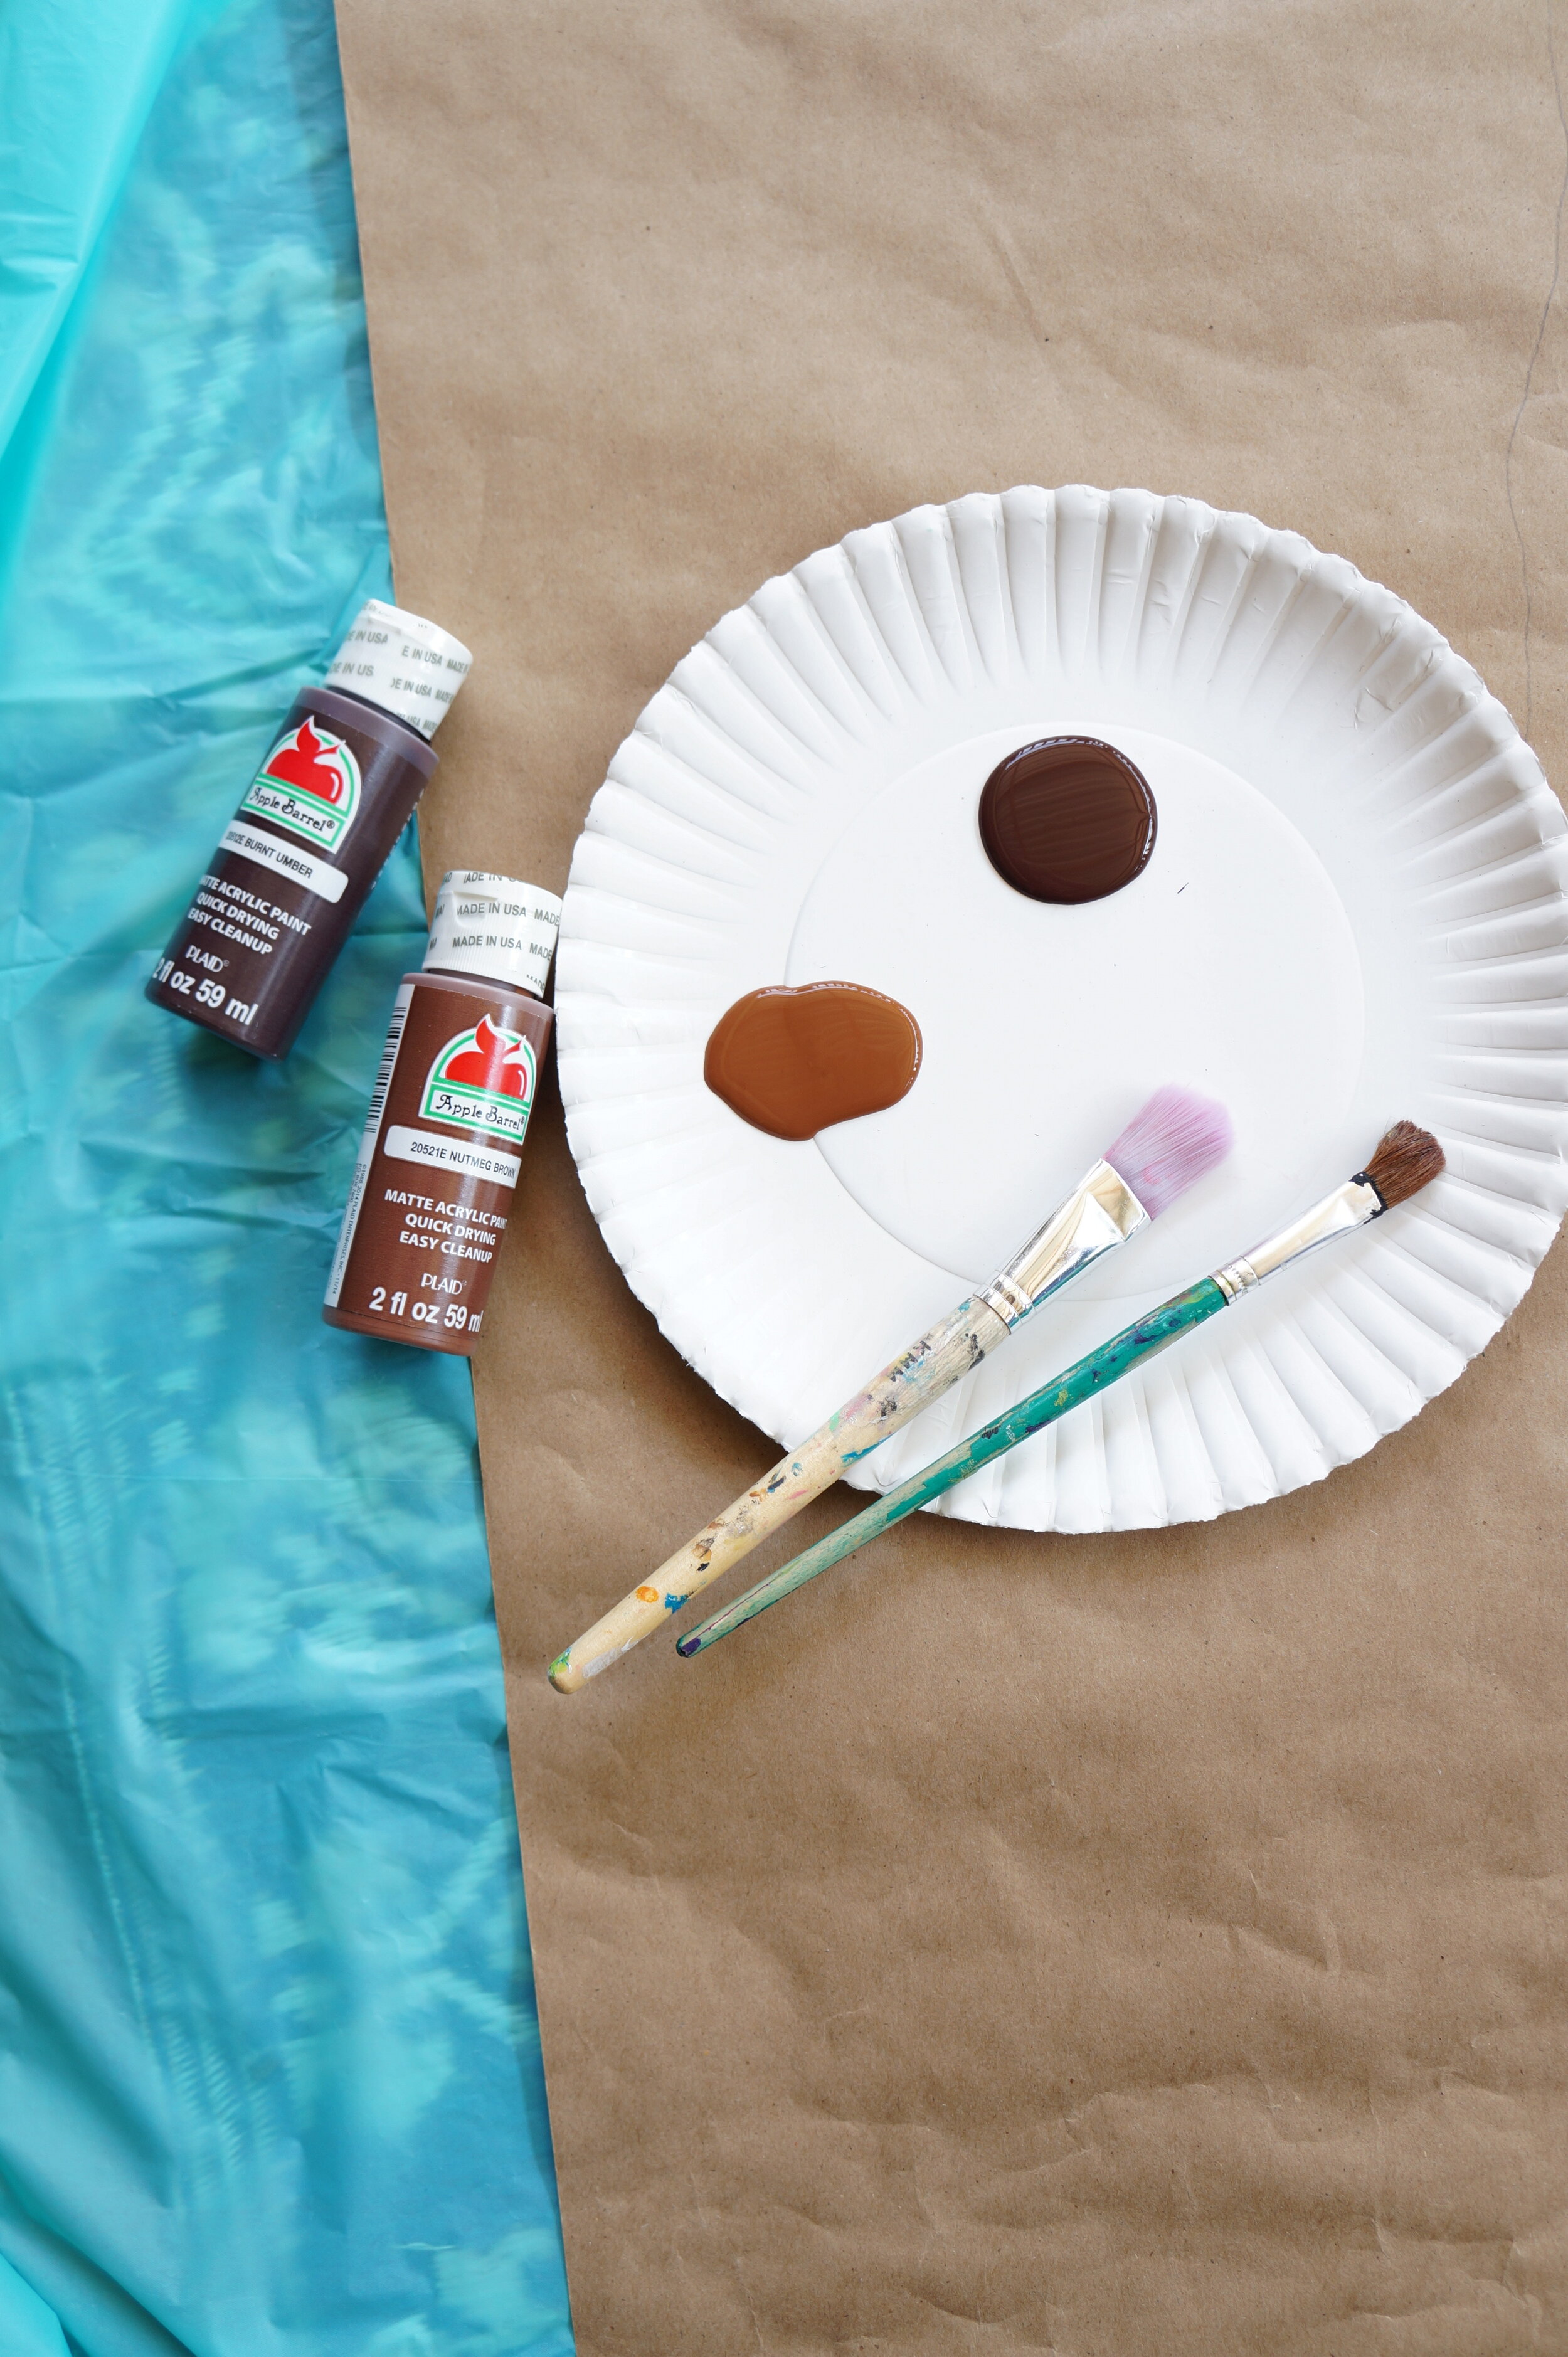
(2) Brown Craft Paints
Fall Craft Paint Colors
(2) Paint Brushes
Rinse Cup
Table Cover
Wipes or Rinse Bowl
Optional: Kid’s Apron or Protective Covering, (2) Paper Clips
The Steps
We want to see your craft! Click PHOTO SUBMISSION, then submit the photo.


TRUNK & BRANCHES
Unroll the paper enough for your child to lie on with their arms extended up and 1-2 feet above for the leaves.
Scoot their legs together, place their arms slightly bent, tuck in their clothing so that you have a smoother silhouette to trace, then trace their body and extended fingers.
After your child gets up, roll the paper up backwards/opposite the direction of curl, to help straighten/flatten it out.

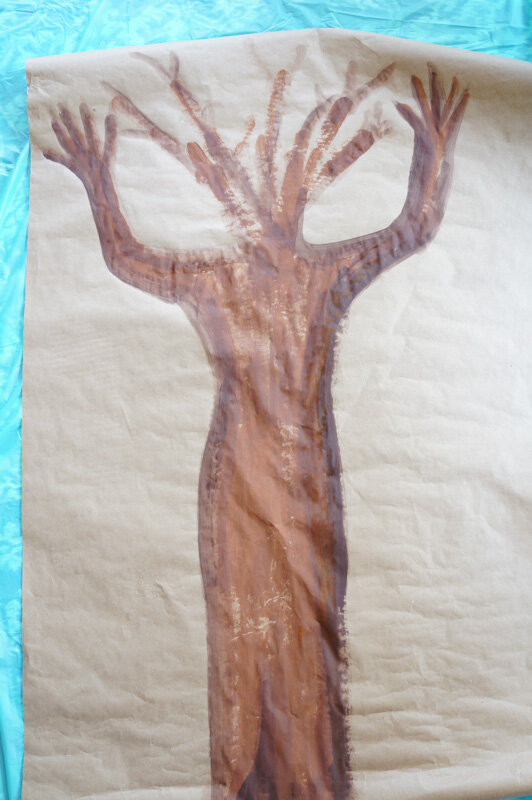

Matthias’s trunk
I let the kids hang out while I painted the trunk for them. It seemed like too much effort and not as exciting for them.
PAINTING
Place your table cover onto your workspace and unroll the paper over it.
Squirt both browns onto a plate, thin them out with a bit of water, and then mix each with the brushes
Paint the lighter shade in the middle sections and the darker shade on the outer edges. It helps create depth. Add more details if you’d like.
Add more branches where their head was, more around their arms, and/or extend the fingers.
Let the tree dry for 10 minutes.


HANDPRINTS
Once dry, roll up the bottom portion to free up space. Hold together with paper clips.
Squirt each paint into its own plate and thin out with a bit of water.
Press your child’s hand on the paint, swirl around a bit, and then press firmly onto the poster.
Repeat with that same color a few times before cleaning their hands with wipes or a washbowl, and continue making prints with the other colors.
Let the handprints dry for 10 minutes.
That’s it!


Matthias’s and Micah’s finished tree!
Happy crafting!
Amanda and Naomi
+ Micah & Matthias
To share: take a photo of your craft and let us see it! Click on photo submission and submit the photo.


