

Hi friends,
We’ve got some easy, glittery, Cardboard & Chopstick Lollipops for you! They’re sugar-free and use recycled materials lol I don’t know how many of you save your chopsticks from your takeout(I normally don’t) but… with littles at home who LOVE to play with them and their collection of colorful froyo spoons, we’ve built quite a stash. Check them out below!
*Click on the photos for a closer look
What You'll Need
Cardboard
Paper Plate
Glue
Large Jar Lid/Bowl
Craft Paint & Brush
Pencil
Chopsticks/Twigs
Scissor
Glitter
The Steps
We want to see your craft! Click PHOTO SUBMISSION, then submit the photo.


PREP
Trace the large lid/bowl onto the cardboard and cut it out.
Repeat as many times as you’d like.


PAINT
Paint in the desired colors or designs and let them dry for 3-5 minutes.

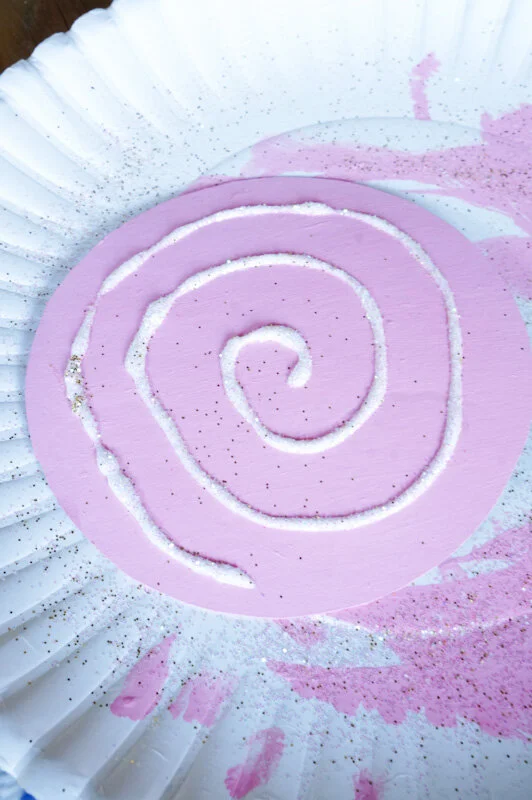
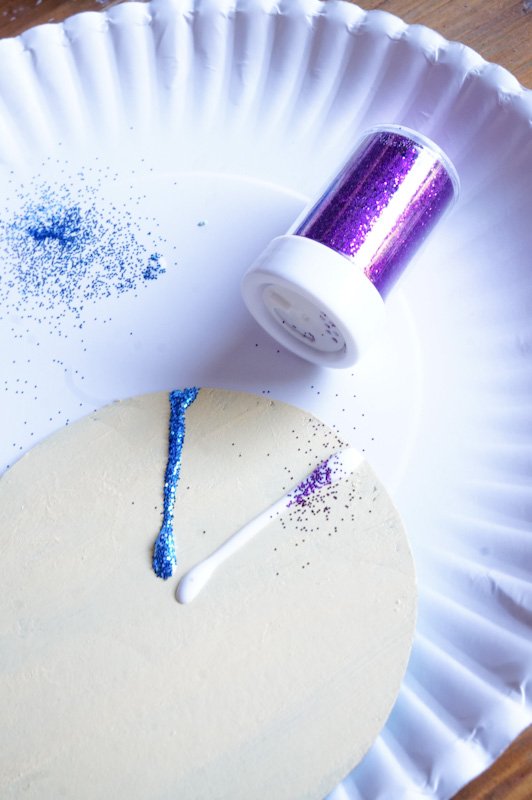
GLITTER
Create designs with the glue and then add different glitters.


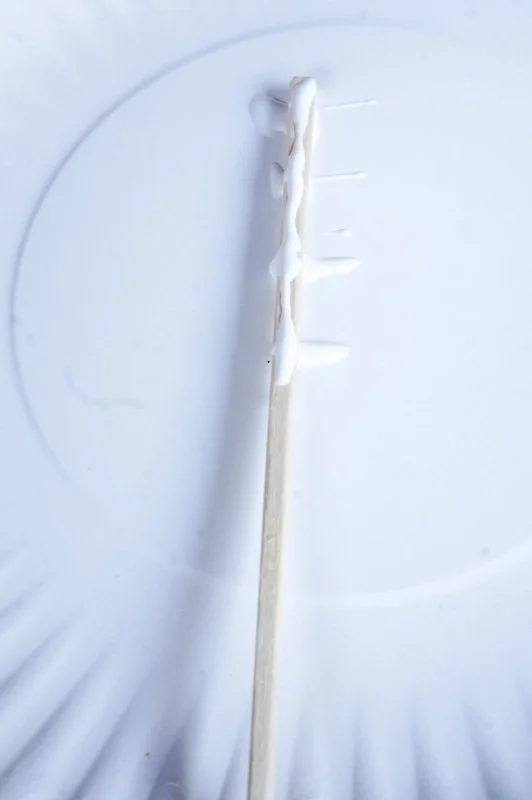
ASSEMBLE
Let the glitter dry for about 10 minutes.
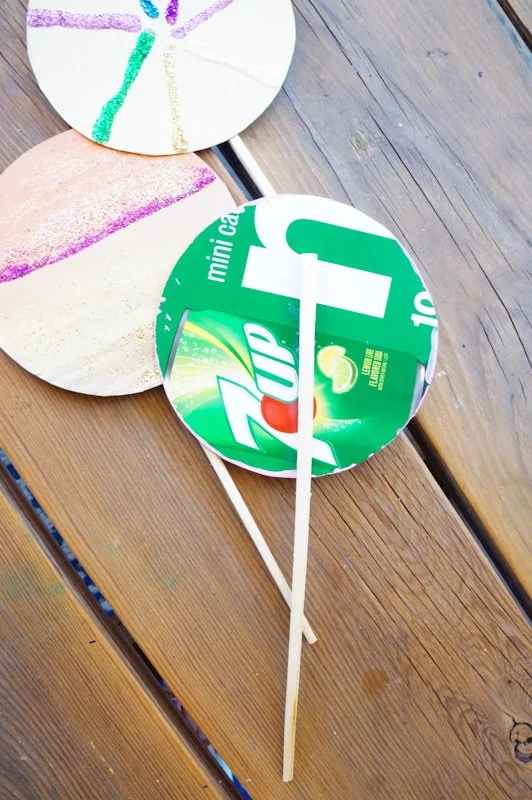
Add glue to the wider end of the chopstick or twig, press it onto the back of the cardboard, and let it dry for 10 minutes.
That’s it!


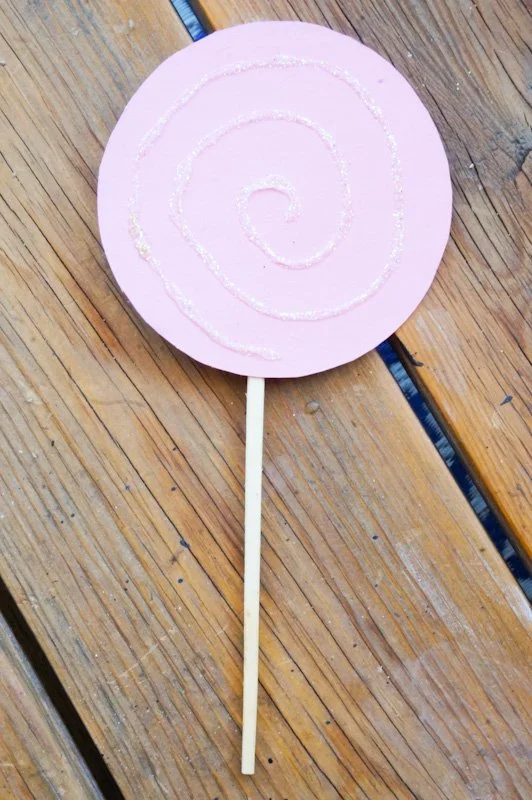
The irredescent color isn’t as visible on camera.
Happy crafting!
Amanda and Naomi
To share: take a photo of your craft and let us see it! Click on photo submission and submit the photo.


