

Hi friends,
Have you seen knobby pumpkins like Red Warty Things or Knuckleheads? We made our versions with a paint transfer method.
The knobby pumpkins come in various colors, are unique, and have wart-like, bumpy skin. They feel a little weird too lol. Check out these easy-to-make paint transfer pumpkins, that resemble those knobby pumpkins.
*Click photos for a closer look
What You'll Need
Craft Paper Roll
Scissors
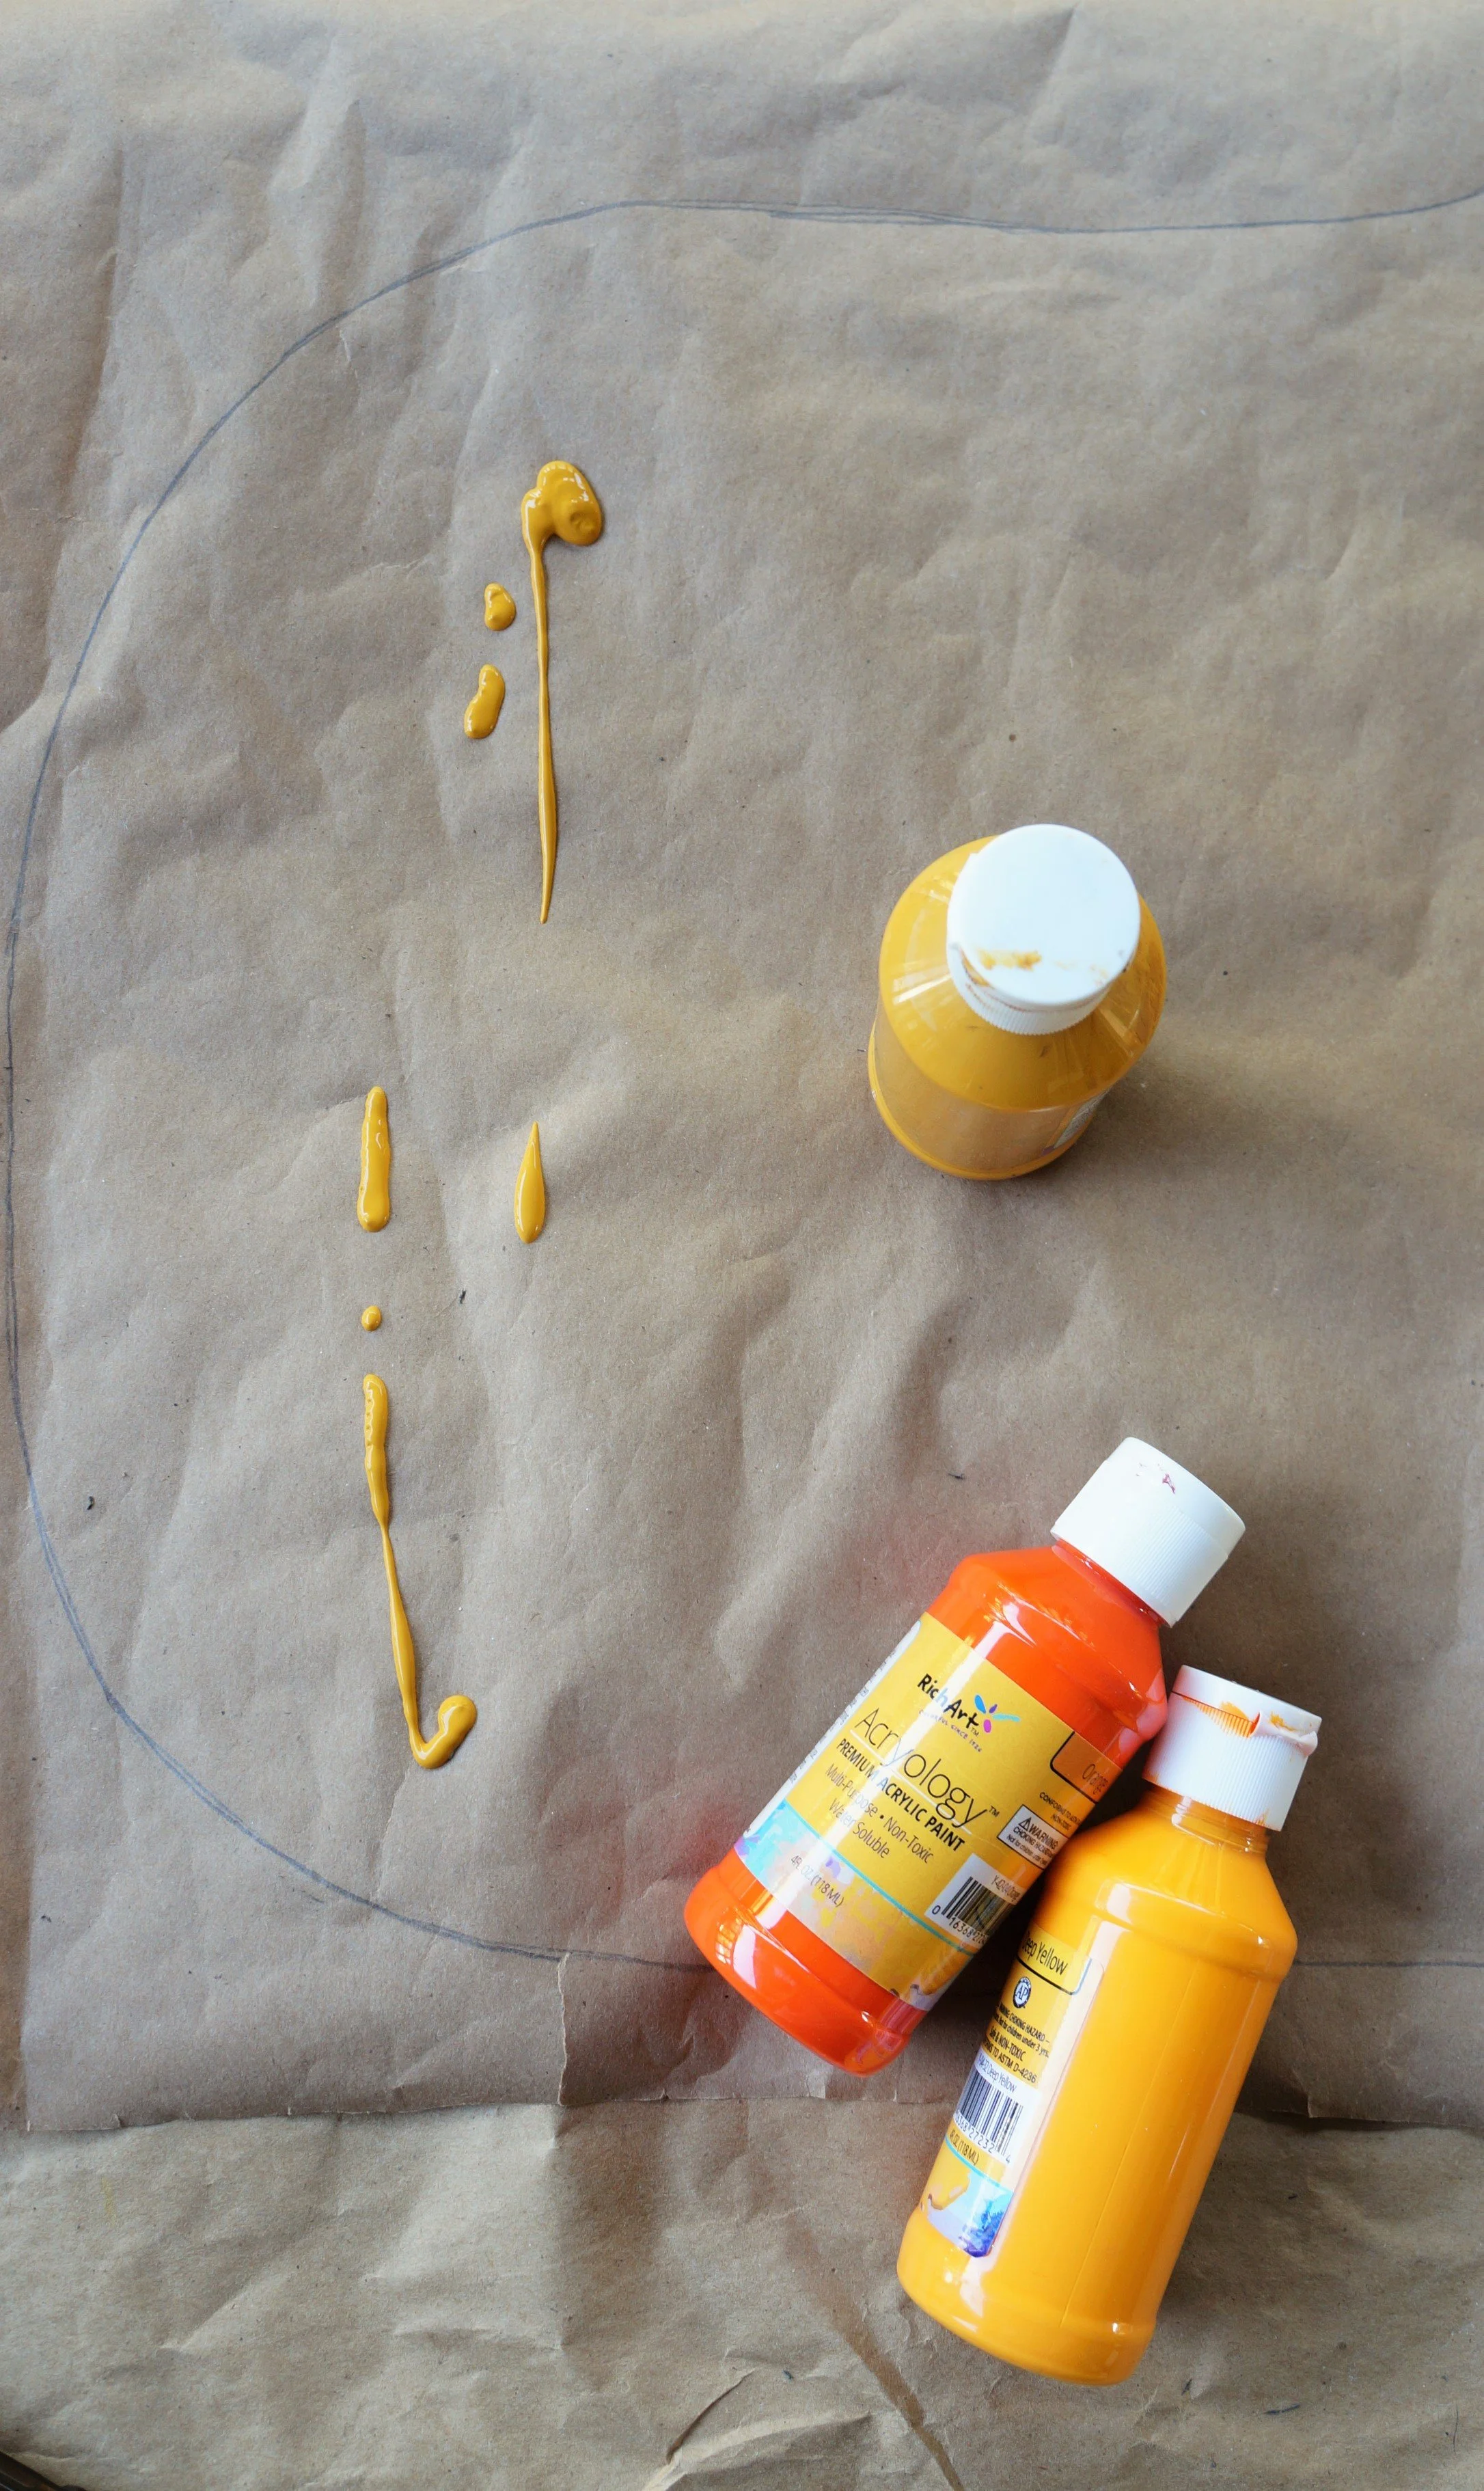
Craft Paints
Paint Brush
Pencil
Optional: Matching Marker
The Steps
We want to see your craft! Click on PHOTO SUBMISSION on the upper right ——> and submit.


PREP
Cut a strip of paper, large or small, and roll it in the opposite direction to help flatten it out.
Fold your flattened paper in half.


DRAW
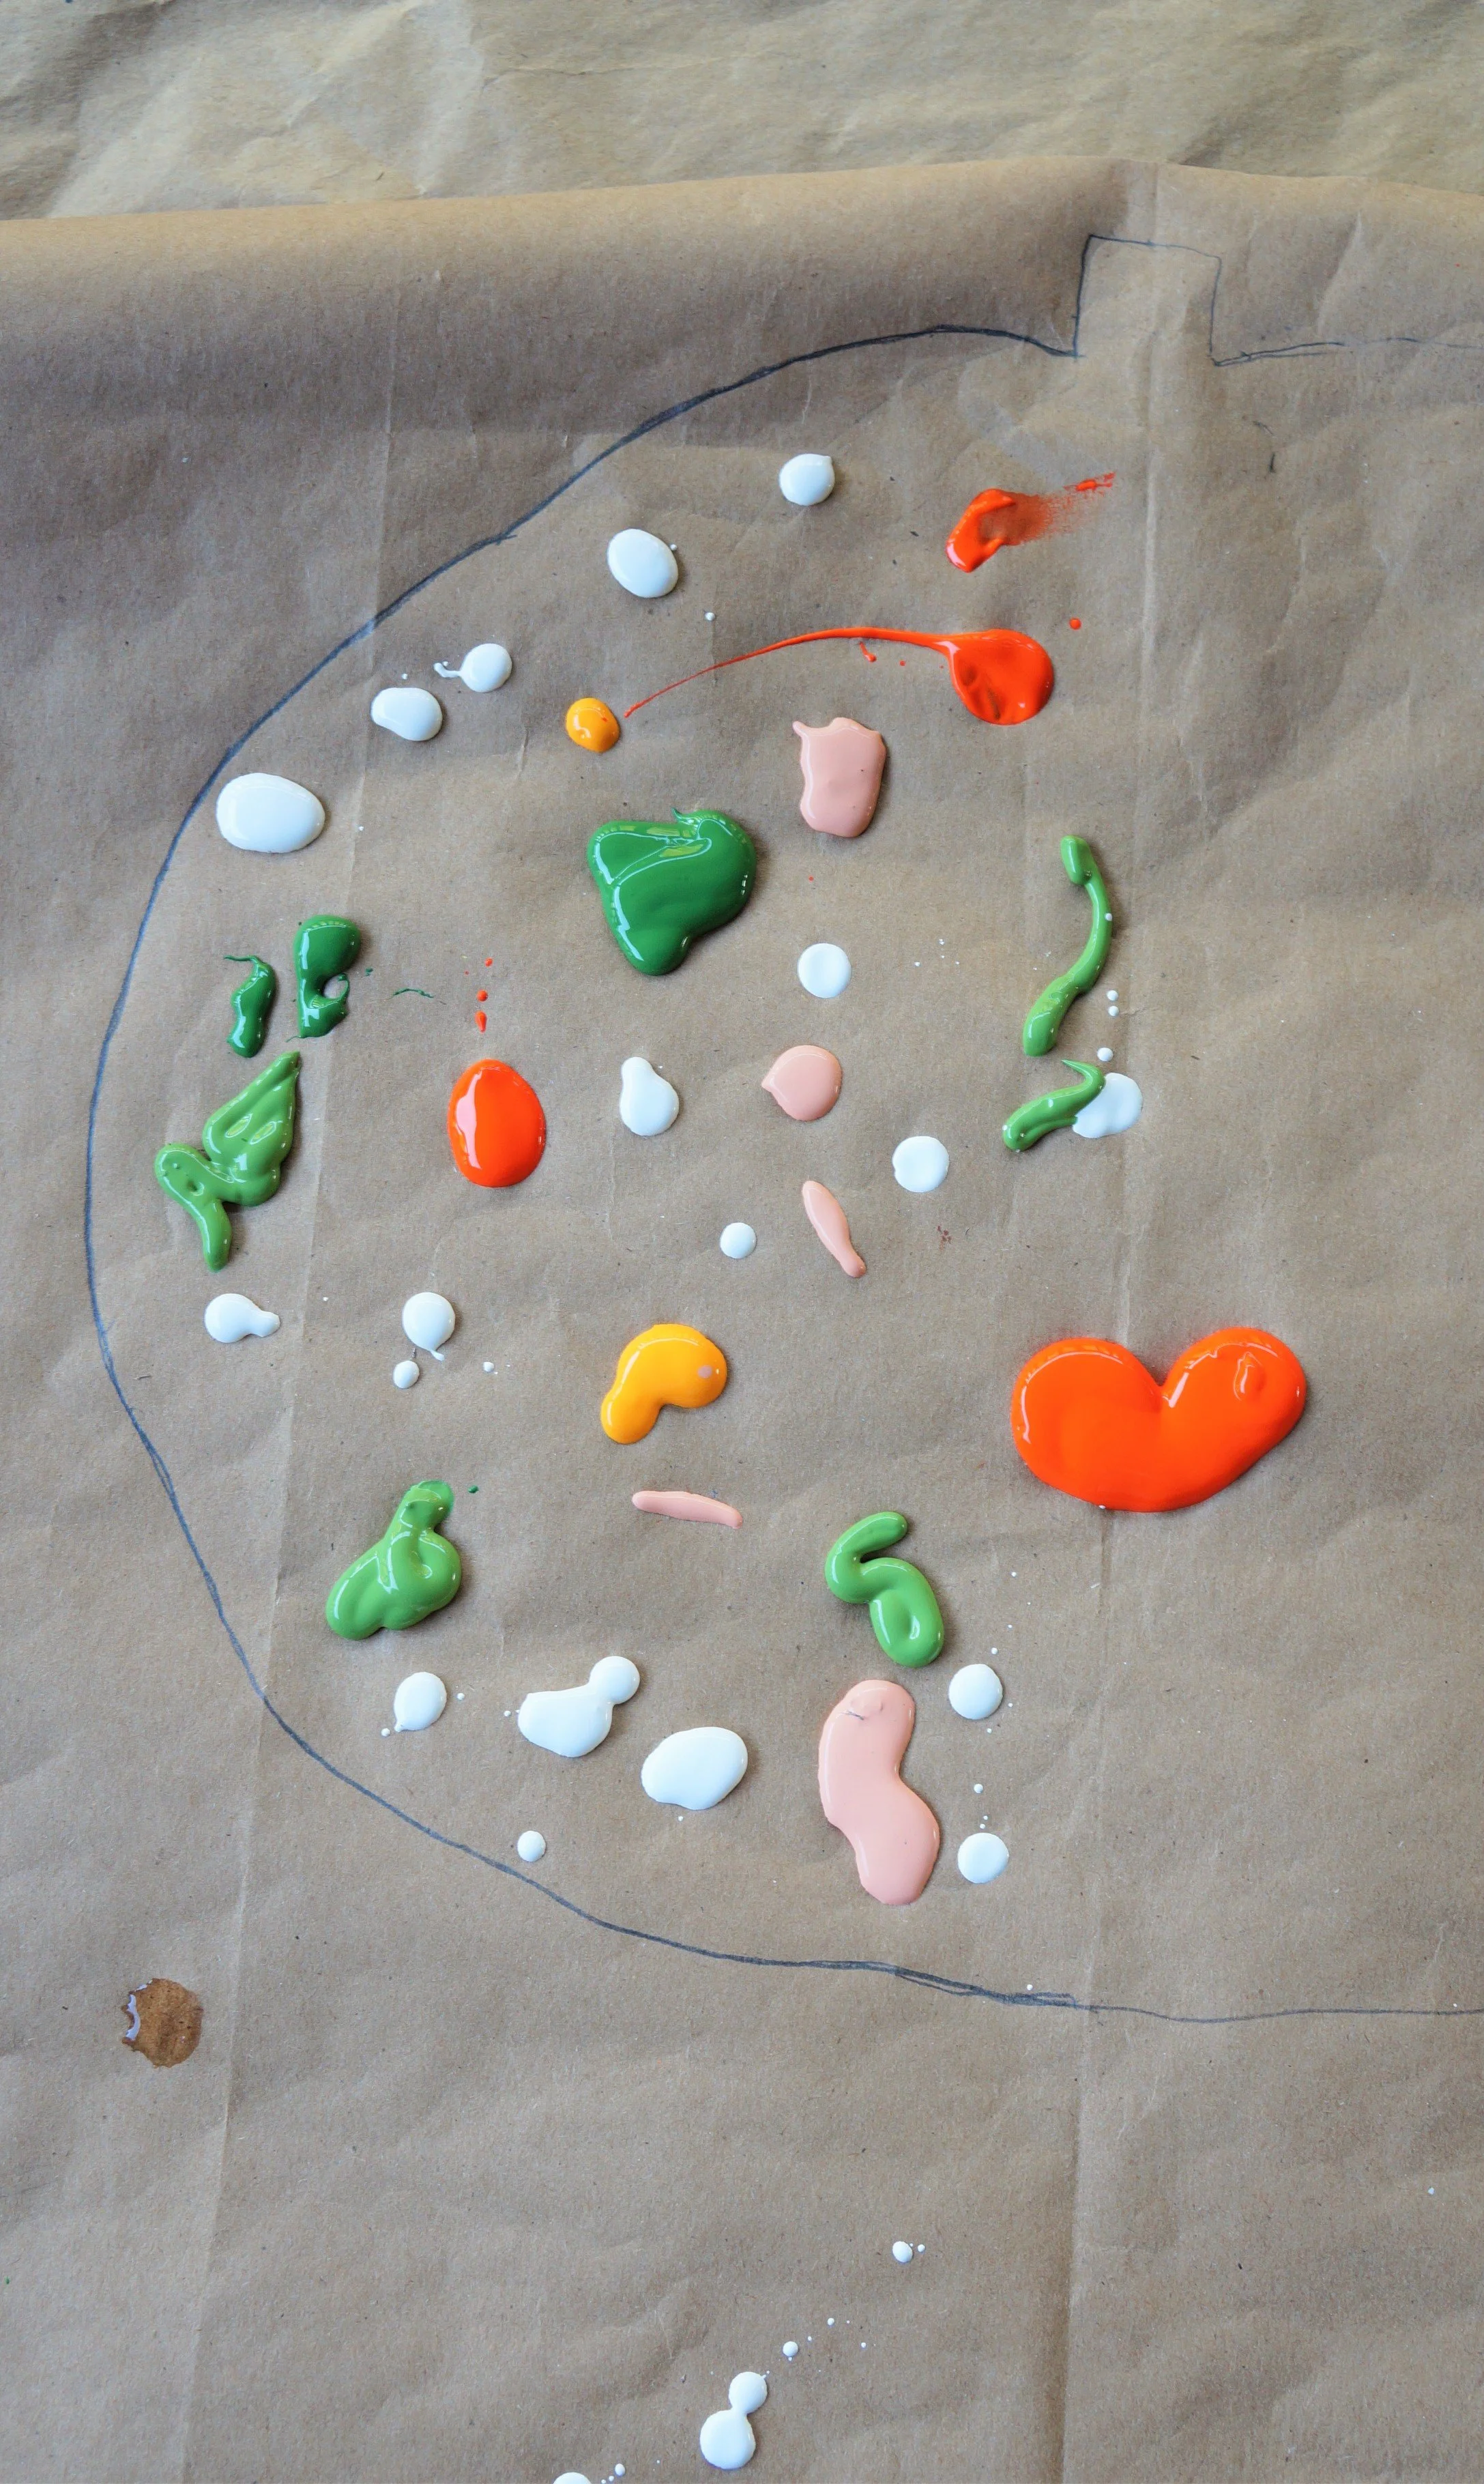
Open your folded paper, and draw half a pumpkin and a stem on one side.


PAINT
Squirt a variety of paints on the pumpkin side.
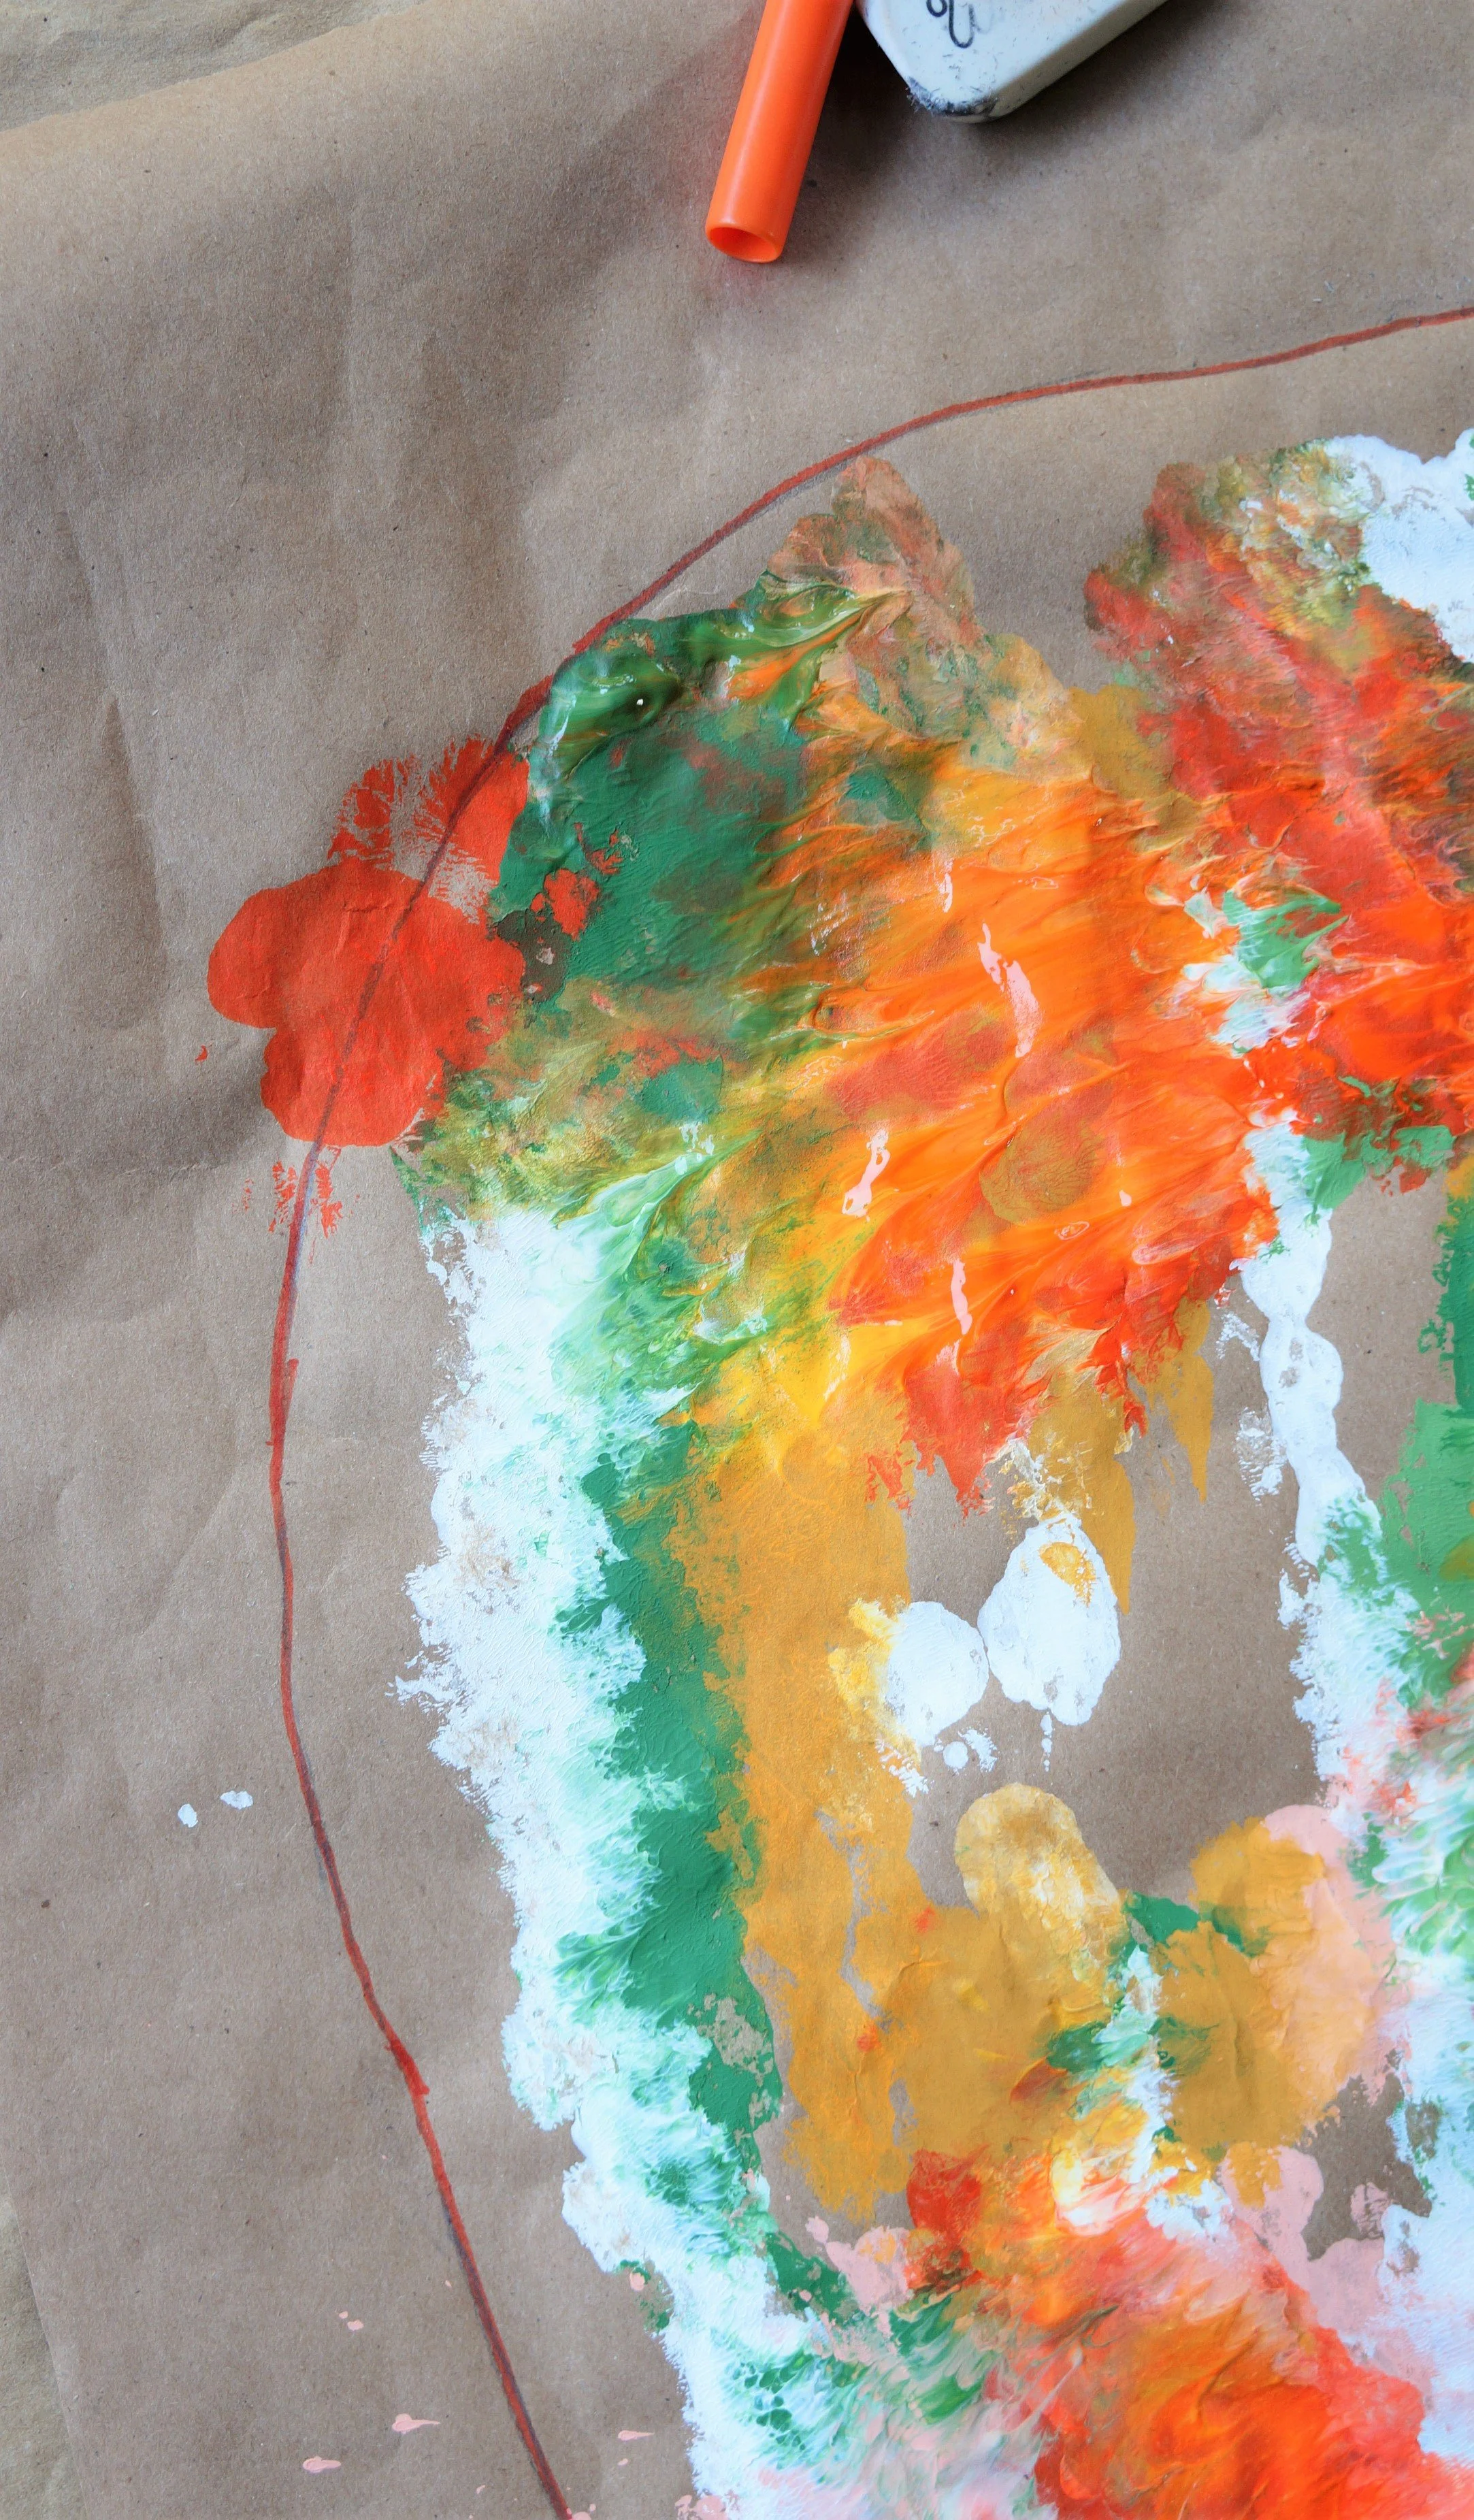
Carefully fold over the other side, press down firmly, swirl, and drag the paint up and down with your fingers. Open the paper slightly to see if any spots need more paint, if so, close the paper and drag the surrounding paint to those spots.


DETAILS
Carefully open the paper and paint the stem with brown paint.
Let the pumpkin dry for about 10-15 minutes and then use a marker to outline around the knobby sections or just around the outer edge of the pumpkin.
That’s it!


My large pumpkin and Matthias’s medium sized pumpkin.
Happy crafting
Amanda and Naomi
To share: take a photo of your craft, click on PHOTO SUBMISSION on the upper right, and submit.
We’ll share it with everyone here!


