Hi friends!
Today we’re sharing something a little different; it's Mexican-themed, Cinco de Mayo inspired, and a tribute to all the Latinas, or girl, niña, or señorita who's ever had her hair braided; so tightly, she thought her scalp would never recover. LOL
Enjoy pain-free braids, where no scalp is harmed, and no brush is required!! Check out our Cinco De Mayo: 3D Señorita with her long braided hair, woven with colorful ribbons. Happy Cinco de Mayo friends!
What You'll Need
(1) Black, Pink/Ivory/Tan, and Blue Construction Papers
Black, Blue, Yellow, Green Streamers
Glue or Glue Gun
Tape
Pencil
Crayons
Scissors
Hole Punch
Yarn/String
optional: Decorative Paper, Tacky Glue instead of regular glue
*click on photos for a closer look
The Steps


PREP
Cut (12) black, (4) blue, (4) yellow, and (4) green streamers 5 ft. long. Cut (2) colored streamers 5 inches long(braid ties).
Start with 4-inch sections, folding over the streamer in half, and stretching slightly until the end. Repeat a 2nd time, creating a thin strand.
Repeat with the rest of the streamers, including the shorter pieces. Tape or hot glue 2 long black and 1 long colored steamer together. This will create 6 groupings of 3 strands. Save the shorter pieces for later.


BRAIDS
Tape 3 strand groups together for one braid and repeat for the second braid.
. Place a heavy container at the end of one grouping, it’ll hold it in place as you braid it. Continue moving the braid under the container as you get further down the braid.
. Wrap the braid with the short colored strand, then repeat with the second braid.
Starting from the bottom, begin to loosen up the braid. Gently pull the strands with both hands to make the braid fuller. Optional: trim any uneven strands.


HAIR
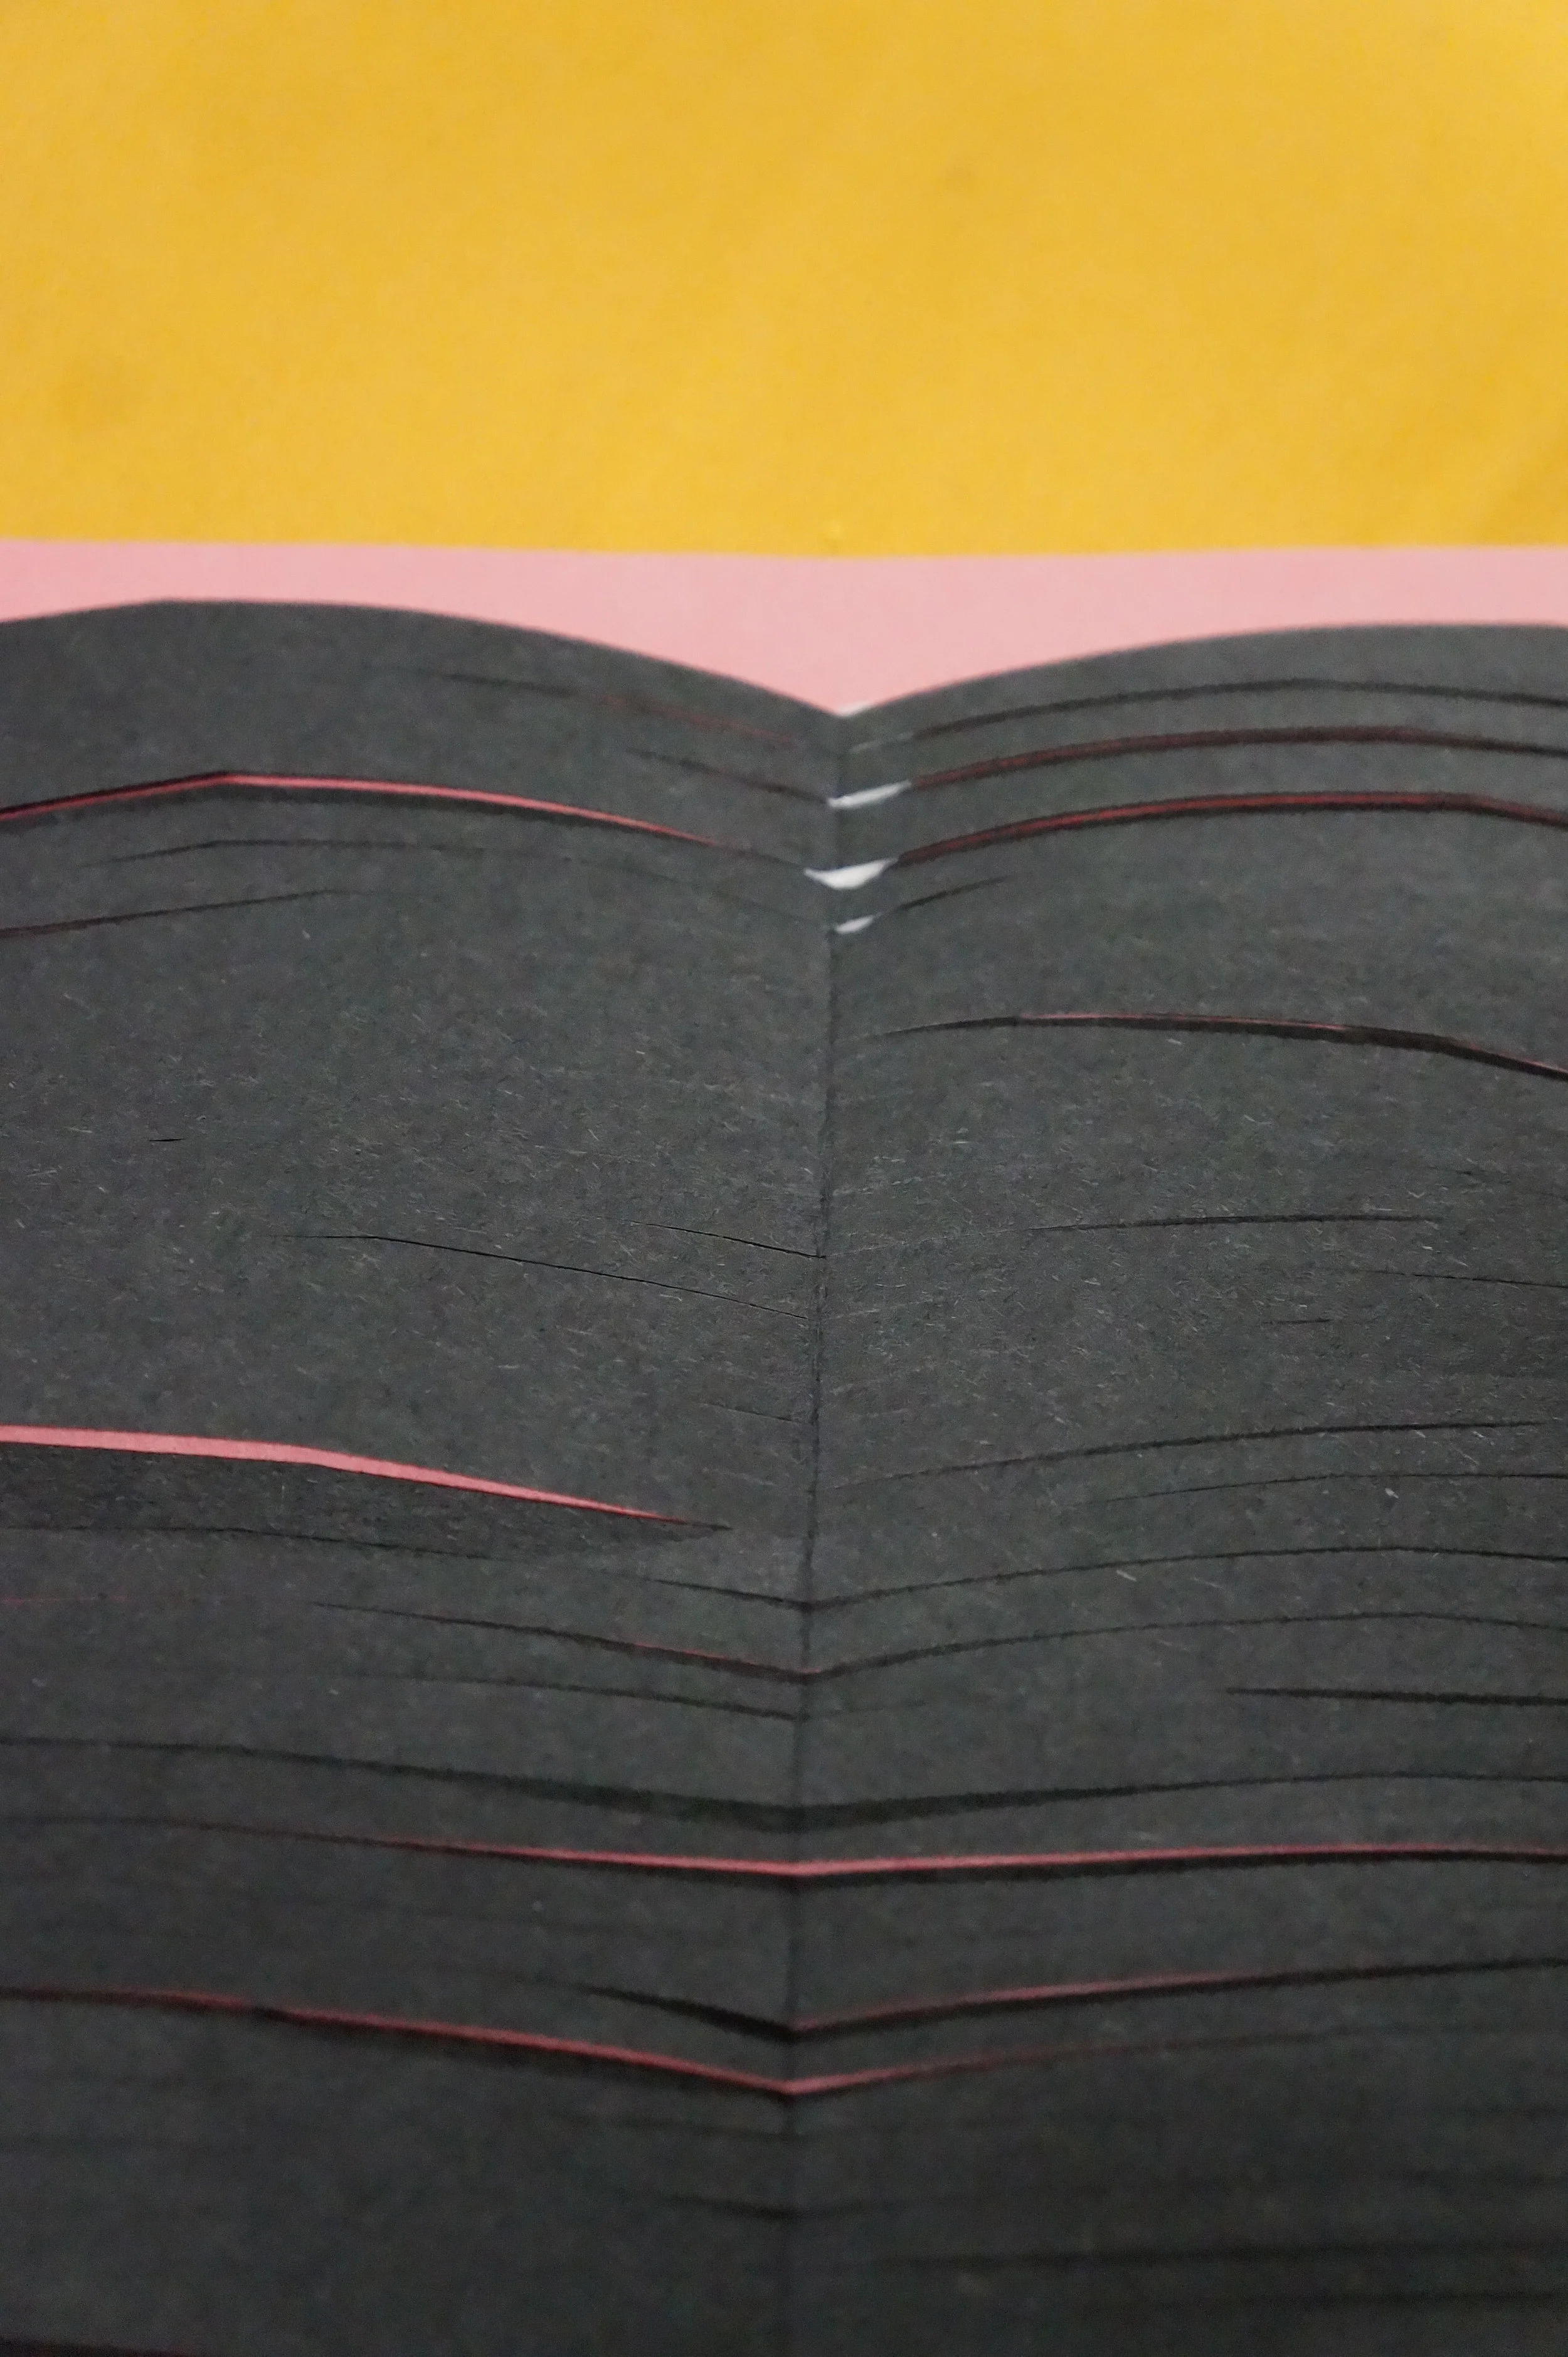
Turn your black paper horizontally and fold it in half.
Draw half an apple shape, fuller at the top and slightly narrow at the bottom with a slight raise.
Draw curved lives following the shape of the apple, curving upward on top, straighter in the center, and downward at the bottom. Leave 1/2 inch edge all around.
. Cut all those lines.

5. Turn your pink, tan, or ivory paper vertically, then cut a thin strip off the bottom. Set it aside for later. This will be the hair part.
6.. Add a bit of glue(Tacky glue works best) 1 inch down from the top of the paper and lay the opened apple there.


NECK/SHIRT
While the glue dries, draw the nape of the neck and the shoulders onto a strip of colored/decorative paper(blouse).
Cut out the shirt, color it with designs or flowers (skip if you used decorative paper), and then glue it on.


HAIR pt2
Add a thin layer of glue down the middle part of the hair and glue on the narrow strip. Let that set for a few minutes.
Flip over one side of the hair, glue the middle section down, and press firmly.
Glue the sides of the hair, leaving the bottom open for the braids Then with your hand slide one section of hair towards the center creating the lift. Repeat on the opposite side.
Use Tacky glue or a hot gun to attach the braids, then glue the rest of the hair over it.


DETAILS
Carefully move aside the braids and draw earrings.
Then punch a hole or 2 and add some string to hang.
That’s it!
STORYTIME
As I was crafting for my sister's bridal shower recently and up way past my bedtime; I played around with the excess streamers trying to come up with something for Cinco de Mayo.
All the while, telling myself I NEED to go to bed because my body may not recover so easily.….but, I didn’t and what do you know?! My Inspiration for today's craft was born. And just for fun a throwback photo below of said sister and myself about 4 and 5 years old, sporting some braids.


Happy crafting friends!
Amanda and Naomi
To share: take a photo of your craft click on photo submission and submit the photo.