Hi friends!
Today, we’re making cute Cupcake Liner Butterfly Scenes, where the butterflies fly freely and bring unique color. The scenes can be anywhere: outdoors, in a classroom, in your home, or even on the tip of your self-portrait’s nose. We enjoy being outdoors, so we chose two outdoor settings. Check it out below and don’t forget to share your creations with us.
*Click on the photos for a closer look
What You'll Need
White Construction Paper
Crayons
Cupcake Liners
Pipe Cleaners
Scissors
Glue
The Steps
We want to see your craft! Click on PHOTO SUBMISSION and submit
BUTTERFLIES
* We decided to make our butterflies first but you can color your scene/background first.
Use 1 cupcake liner, fold it in half, and flatten it slightly.
Fold once again into fourths.
Repeat steps 1 & 2 to create more butterflies and then set aside.
To form the butterfly antennas and legs: cut about 3in from a pipe cleaner, cut in half, and then twist the lower parts together. Repeat as needed and then set aside as well.
SCENE/BACKGROUND
This is the really fun part! You get to create a scene or place for your butterflies to be a part of. Use as many colors as you’d like.
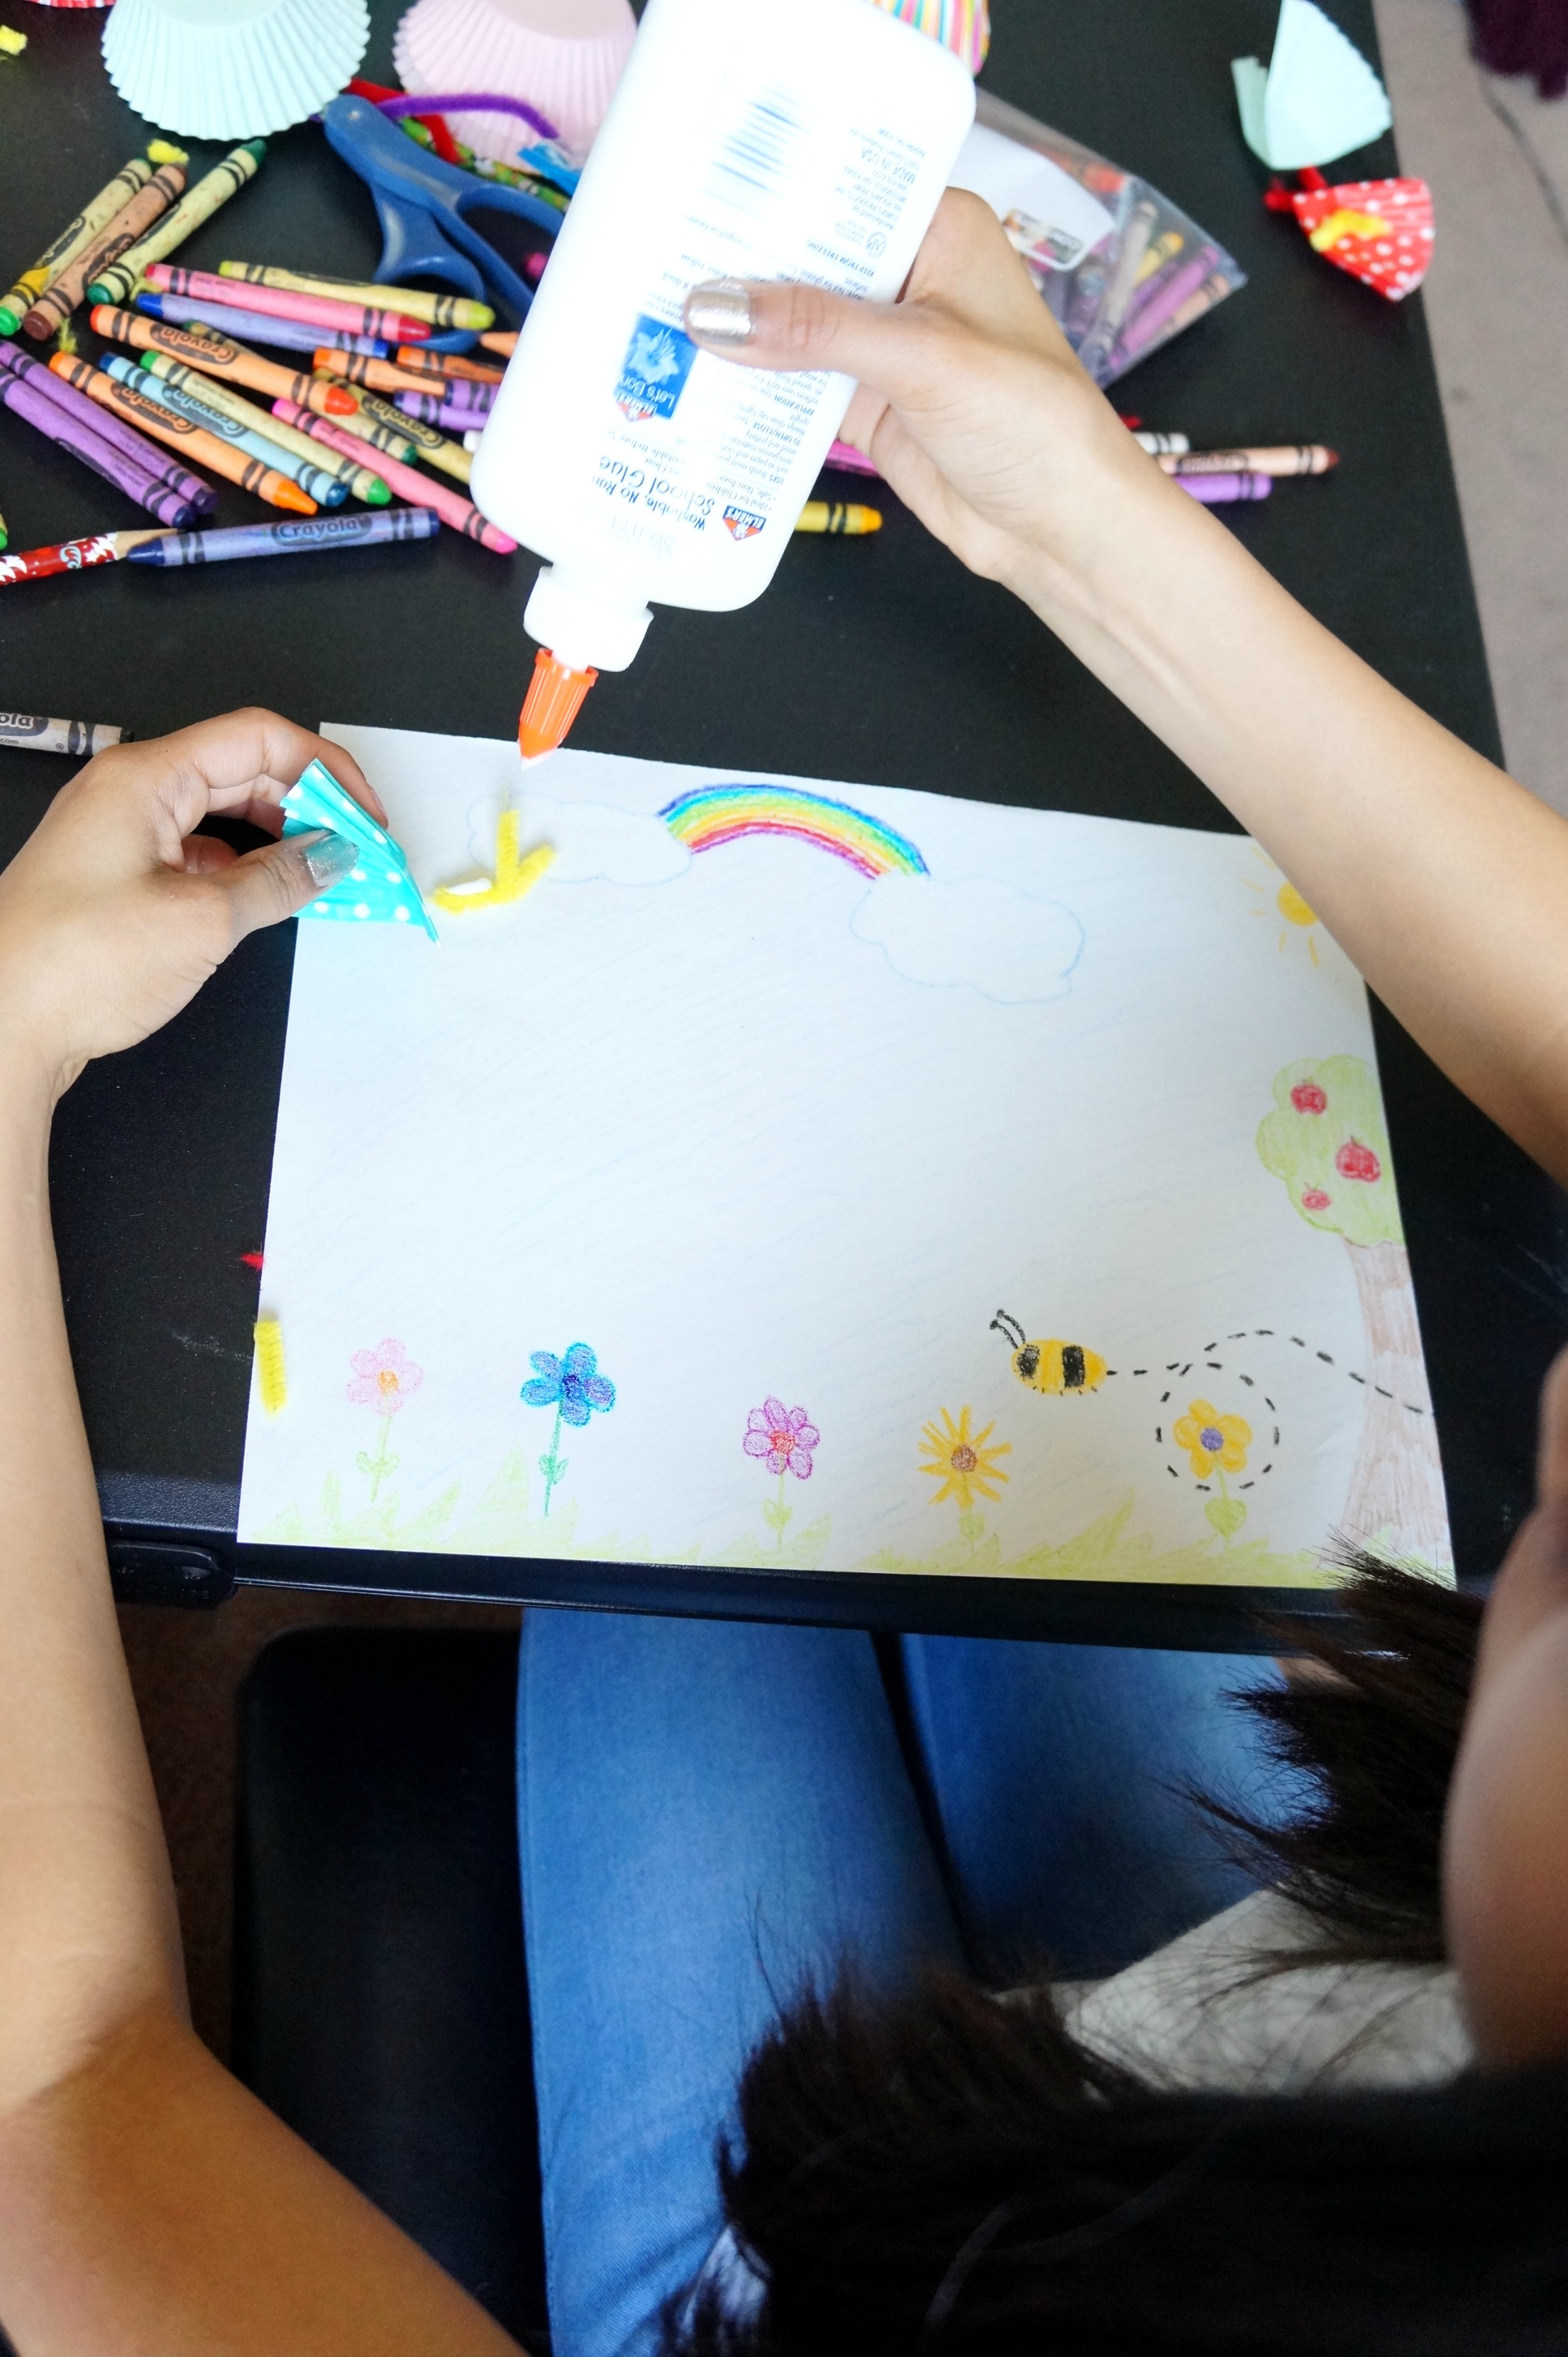
Naomi chose a garden setting with a cute bumble bee. I love how she even included the flight pattern of the bee. Can you imagine the buzzing sound?
I kept mine a little more simple and drew grassy hills, a brown fence, small barn, sun and clouds. If you choose a similar scene, you could add some animals, farm equipment, or flowers as well.
ASSEMBLE
Glue your antennas, legs, and butterflies onto the paper and let dry for 20-30 minutes.
That’s it!
Naomi chose to tuck in the legs and only show the antennas.
*I cut one cupcake liner to create a much smaller butterfly
We hope you have as much fun as we did, it even gave us ideas for other projects in the future.
Happy crafting friends!
Amanda and Naomi
To share: take a photo of your craft and let us see it! Click on photo submission and submit.


